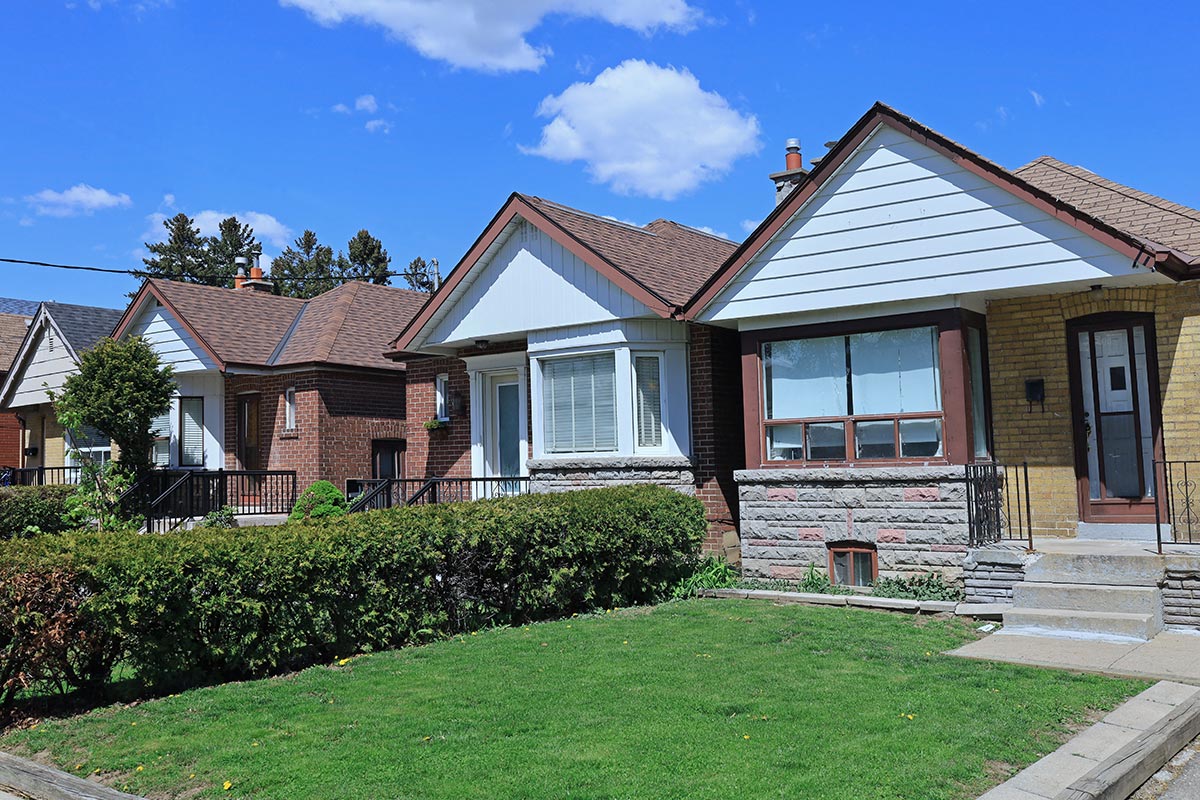
Some of the reasons lamp posts are installed in homes is to always have good lighting in front of the porch, deck, or outdoor space of the home. Have you been wondering where to place your lamp posts in your front yard? If yes, we have done proper research to help you with all the information you need to know about where to place lamp posts.
To make snow plowing and shoveling easier, place post lights at least a foot away from your driveway or sidewalk. Before buying a lamp post, ensure it fits in perfectly for any bulb you may want to put in it.
To know more about lamp posts, keep reading as we have detailed information on everything you how to place a lamp post in your yard and the best location for it.
Outdoor Lamp Post - Uses
An outdoor lamp post not only improves the architectural appeal of your home but also provides lights to keep drivers, riders, and pedestrians safe and secure. Lamp posts also serve as an attachment area for decors.
In addition to the lamp post's primary use, as mentioned above, you can see that hanging baskets, holiday illumination, signboards, clocks, etc., are frequently attached to it.
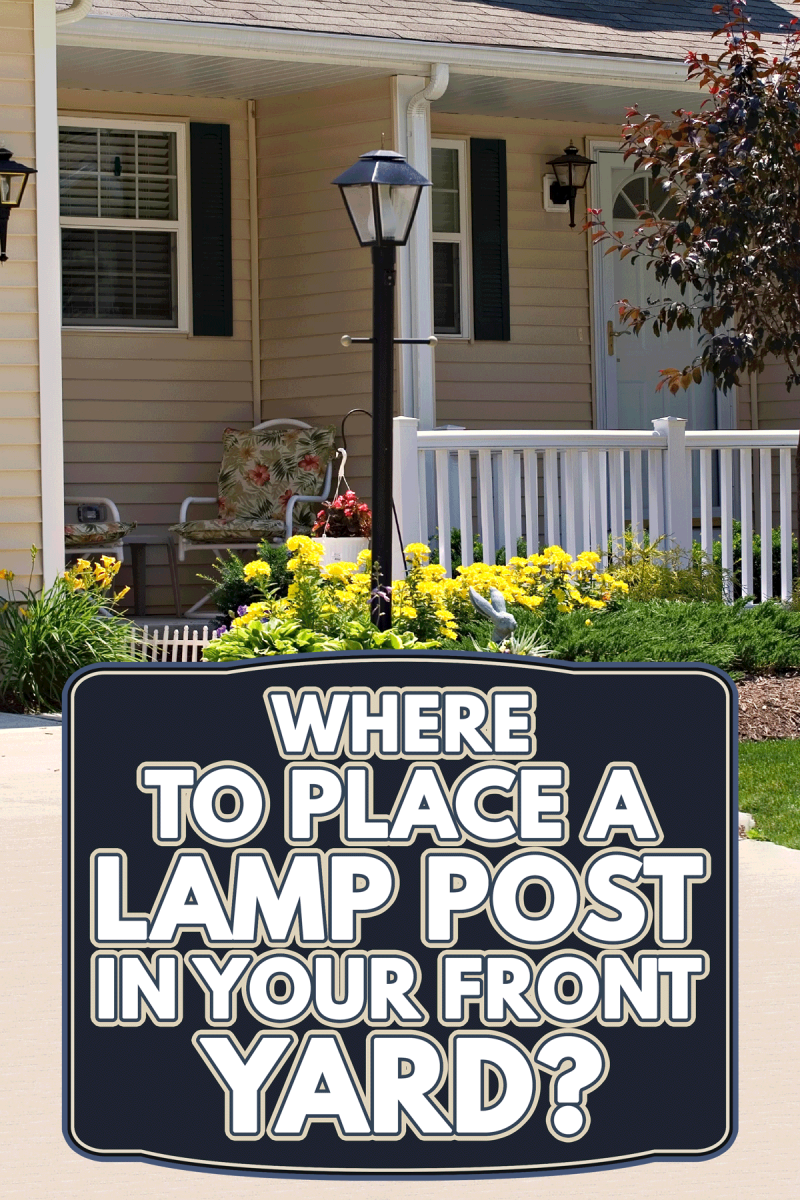
Where to Place a Lamp Post In Your Front Yard
Here are the best places to place lamp posts in your front yard
1. At the Doors of Your Garage and Entryway
If you have a single light next to your garage or entryway door, it should be placed half an inch above the door. The lights should be one-fourth the height of the door if you plan to install one on either side of the door.
To properly illuminate the lock and handle, the lights should also be positioned above sixty inches off the floor or ground. Additionally, lights must be six inches from the door's edge. Make sure the light is positioned on the side of the door closest to the door handle if you decide to use just one light.
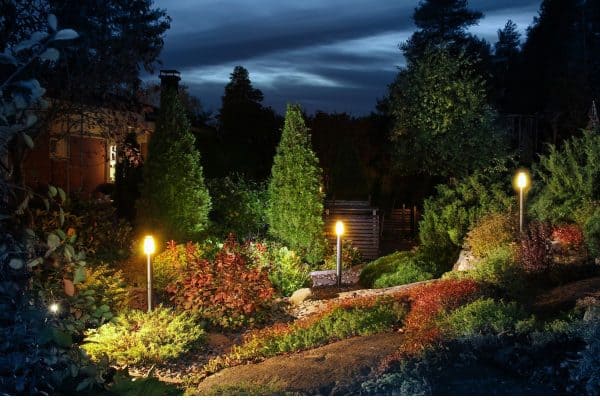
2. At the Pathways of Your Yard
Lights should be spaced six inches apart from the route and every few feet. To improve the aesthetics and properly illuminate the path, try alternating or staggering the lights on either side of it.
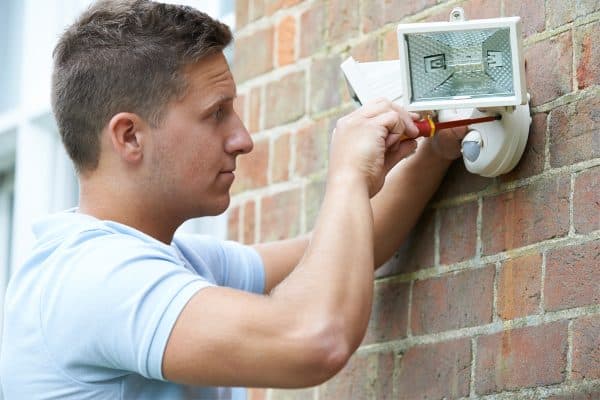
3. The Security Light
A lampost could be added to the security light. Don't overlook the sides and corners of your house when lighting up the front and back of it. Make sure the light won't irritate the nearby residents. Buy enough lights so the beams overlap for locations where you want extra safety.
How to Install a Lamp Post In Your Yard
There are several benefits to outdoor lighting. It makes the area safer by enabling us to see where we are walking in the dark. A well-lit yard discourages intruders as well. Here is how to install a lamp post in your yard.
Step One
Lamp posts cannot always be supported by the ground since rain, frost, and even droughts can cause soil to shift. To maintain alignment, you must therefore provide it with a secure foundation.
The post needs to be put into concrete at a depth of 12 inches, or roughly 16 inches. By excavating a larger hole and filling it with about six inches of gravel, you can also increase the stability of the lamp. In colder climates, it reduces frost heaves and aids in drainage.
Step Two
Create a hole that is 12 inches in diameter and 22 inches deep where the post will go using a posthole digger or a round shovel. The posthole should have six inches of gravel at the bottom. Then, make a thin, 18-inch-deep trench with a trenching spade.

![]()
Try this edging spade from Amazon.
Step Three
Put soil over a plastic tarp after digging the posthole and trench. In this manner, you won't bury the nearby grass or plants, and the tarp will make it much simpler to scrape the soil back into the trench and hole once you're ready to backfill.
Step Four
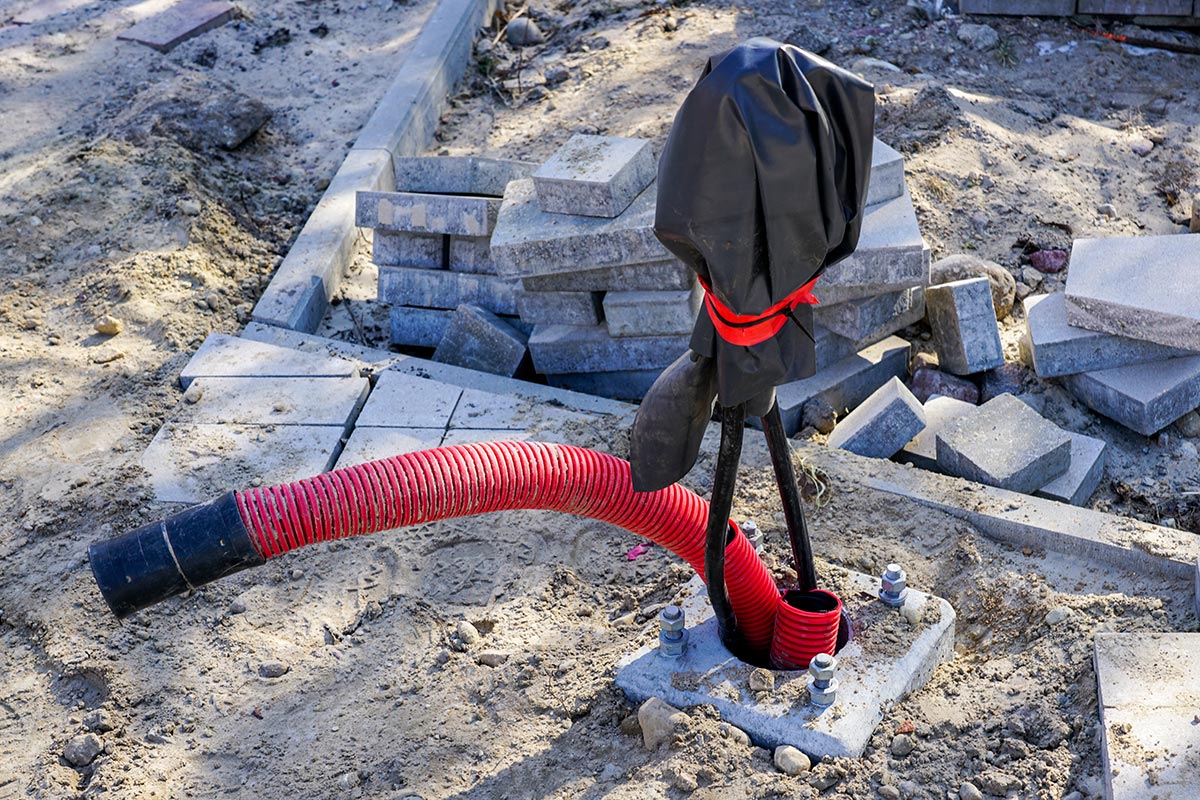
PVC conduit that is dry fitted will extend from the house to the posthole. Use a hacksaw to make the necessary cuts when necessary. Connect elbows to the conduit to move it away from the house, into the trench, and then back up at the post.
Conduit should be added to the elbow in the posthole, with adequate length to extend six inches above the surface. Ensure that all of the elbows are positioned correctly before using PVC cement to join the conduit sections.
Next, pass a wire with a UF rating of 12 gauge through the pipe. At the post position, leave an additional nine feet, and within the home, leave enough extra space to reach the breaker box via the walls. In the trench, place the pipe with the wiring inside. Then, cover with soil.
Step Five
One bag at a time, mix a batch of concrete in a wheelbarrow or trough. To support the post and hasten the setting process, keep the mixture firm. When moved, the concrete should maintain its shape.
Be cautious not to get any concrete in the conduit or on the wires as you carefully shovel it into the posthole on top of the gravel. Fill the hole with dirt up to grade or slightly below it, leaving the conduit exposed for about six inches.
The top of the footing should be smoothed using a piece of scrap wood or a concrete float.
Step Six
Pull the wires through the post from bottom to top as you place it next to the hole. Make sure the wires still protrude from the top of the post when you slide the post's shaft over the conduit and 12 inches into the wet concrete. To embed the post in the concrete, twist it while applying downward pressure.
Step Seven
To support the post by pulling it in opposing directions, tie two or three straps or ropes around it and stake them into the ground a short distance away. To ensure that the post is plumb, hold a level vertically against it at several points all the way around.
To firmly hold the lamppost in place, adjust the straps that are attached to it as needed. At least four hours should pass for the concrete to be thoroughly set before the straps are taken off.
Step Nine
Use a utility knife to carefully peel away three inches of the grey insulation from the UF cable emerging from the post to reveal the three wires enclosed in it: white, black, and bare copper (or green) ground.
This should be done once the concrete is hard enough to support the post without the use of straps. These match similar-colored cables on the lantern.
To reveal half an inch of bare copper on all the colored wires from the post and lantern, use wire strippers. After positioning the lantern on the post, tighten the set screws to keep it in place. Hire a qualified electrician to install a switch in a practical place and connect the wires to the breaker box.
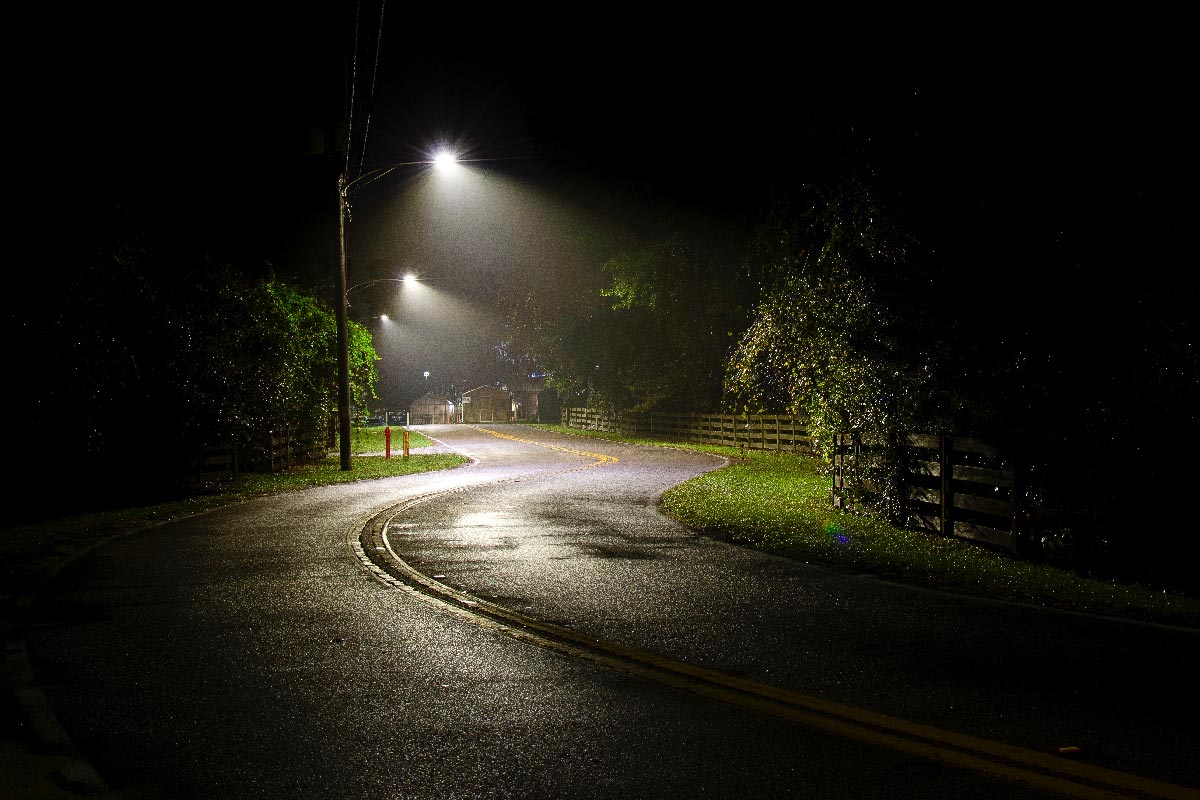
What Is The Best Height For a Lamp Post?

The average height of a street lamp post is between 2.4 and 15 meters (8 to 50 feet). A high mast is defined as a street light pole that is more than 32 feet tall.
On a residential estate road, street lights that are roughly 15 to 20 feet high are typical, whereas 26 to 40 foot lampposts are prevalent on major thoroughfares.
What Do You Put Around a Lamp Post?
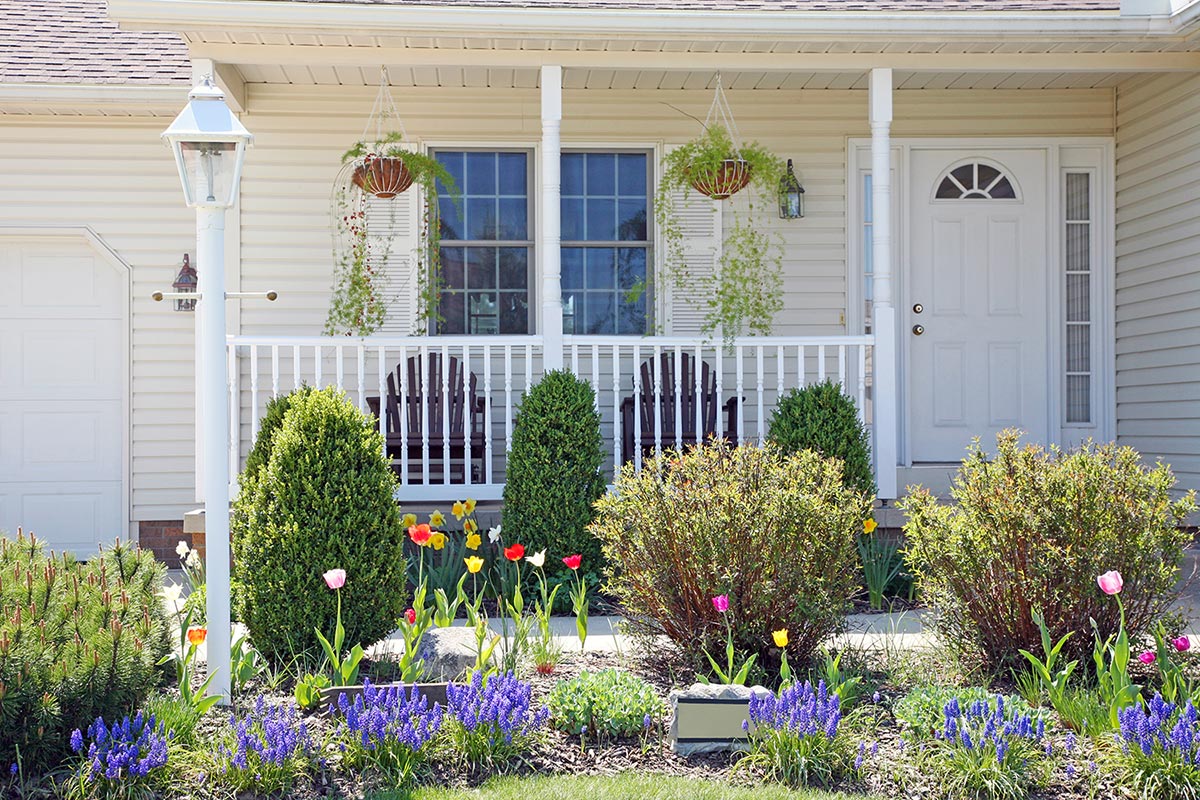
Around the lamp post, bury at least one-third of the rocks in the flower bed so they appear to be natural features. Use rocks of different sizes. To build a low-maintenance rock garden around the lamp post, surround the rocks with drought-tolerant plants and cover with pea gravel.
How Deep Do You Bury a Lamp Post?
Create a hole that is six inches in diameter and 18 to 24 inches deep. As you continue, remove any pebbles and loose soil clods. When using something other than cement, you need a smooth, sturdy surface. In the hole, you just dug, set the post.
To Wrap Up
Lamp posts are important in your building because it adds beauty to your yard, add light to your porch and driveway, prevent accidents, and increase security around the house. Installing your lamp post in the perfect spot plays a vital role in how much lighting you will get in your yard.