Do you adore the beauty of neat garden borders but detest the backbreaking and time-consuming labor involved in excavating and installing edging? We can teach you how to connect "no dig" edging. We've researched this matter and have found the best information for this query.
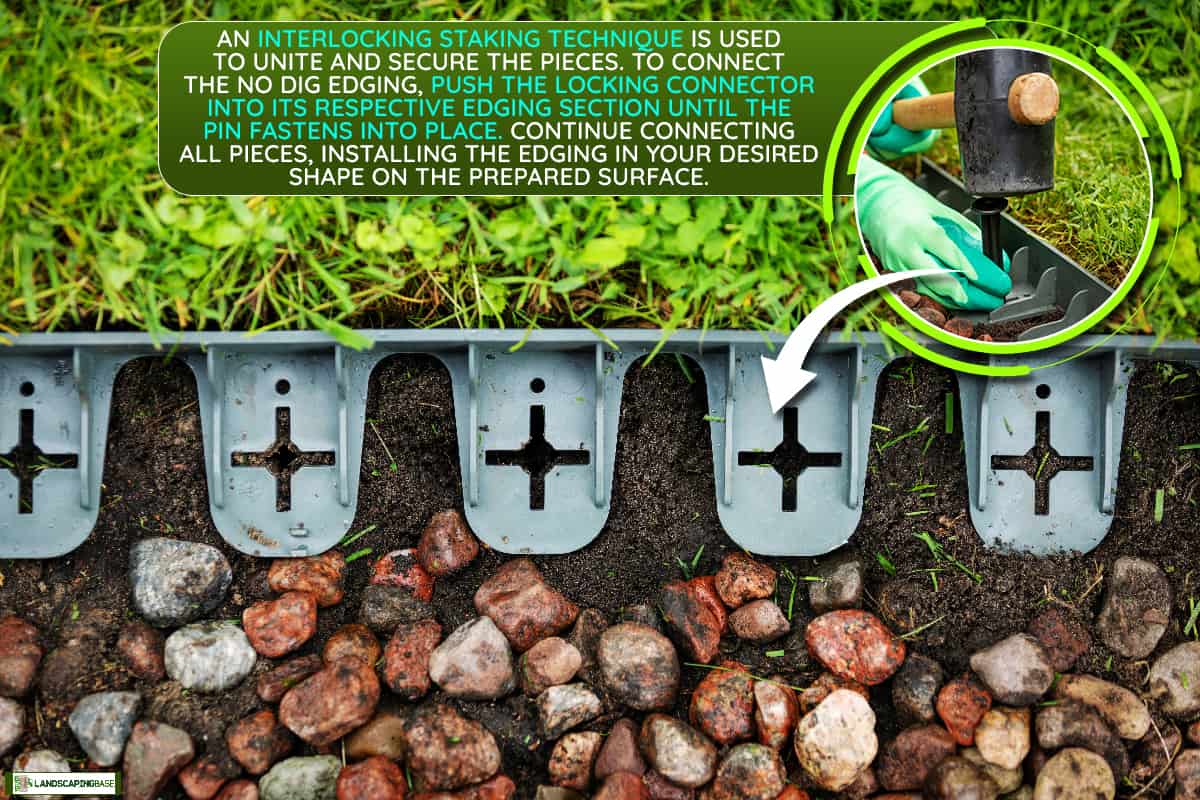
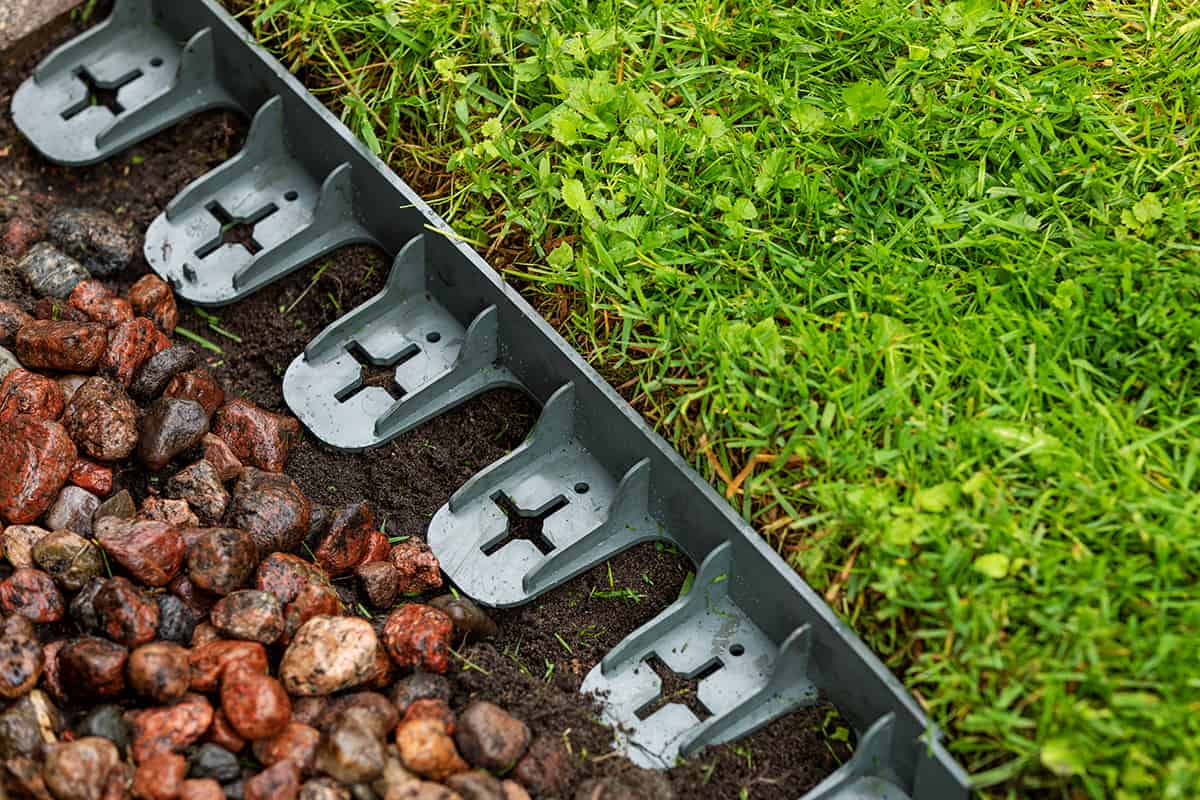
An interlocking staking technique is used to unite and secure the pieces. To connect the no dig edging, push the locking connector into its respective edging section until the pin fastens into place. Continue connecting all pieces, installing the edging in your desired shape on the prepared surface.
One will have lovely garden edging and a stunning yard in no time. We will discuss more no dig edging options and how to install them. Keep reading to learn more about no dig edging.
No Dig Edging
No dig edging is one of the most straightforward and affordable methods to improve landscaped areas. It is easy to install and doesn't involve digging. It creates a neatly edged lawn, clearly dividing it from the landscaped flowerbeds.
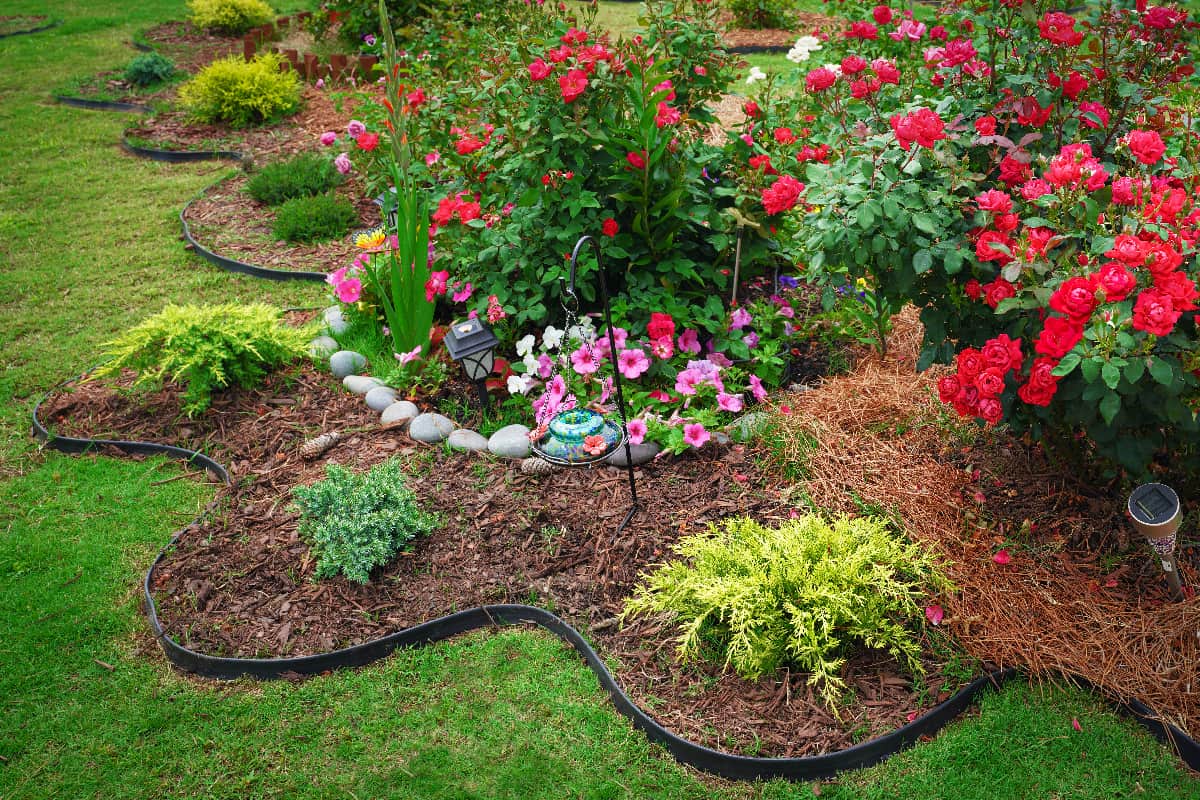
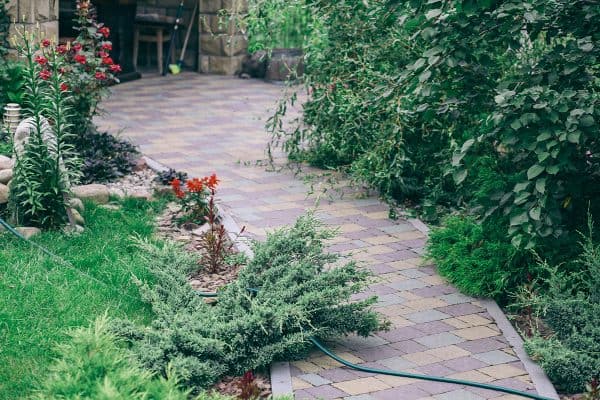
You can use no dig edging for a variety of applications. You can use them to divide gardens, create neat borders, and line walkways. The no dig edging also makes a strong barrier against lawn pests.
Due to its sharp edge, which slices into the ground, no dig edging installs quickly and deeply into the ground with little effort. It is also strong, light, and flexible and has more refined contours. Additionally, it won't rust, split, or rot.
Most people choose no dig landscape edging because of its cost-effectiveness and aesthetics. Fortunately, various landscape no dig edging products are available today that make attaining and maintaining that initial and long-lasting clean, crisp edge of your grass much more manageable.
The edging also comes in various colors and is made of a high-strength aluminum alloy that withstands years of abuse from upkeep. It is non-toxic and frequently constructed of recycled materials.
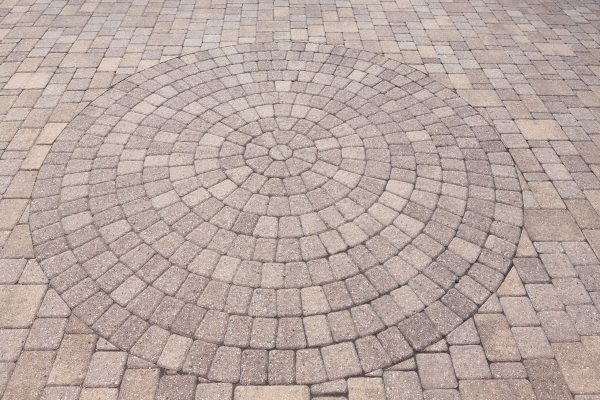
Depending on the edging you choose, you can obtain a range of aesthetics. Consider using huge rocks, bricks, and concrete pave stones as edging for a no dig border.
However, it is not always the most robust possible choice. Several no dig landscape edging options can be easily damaged or shifted when performing lawn maintenance.
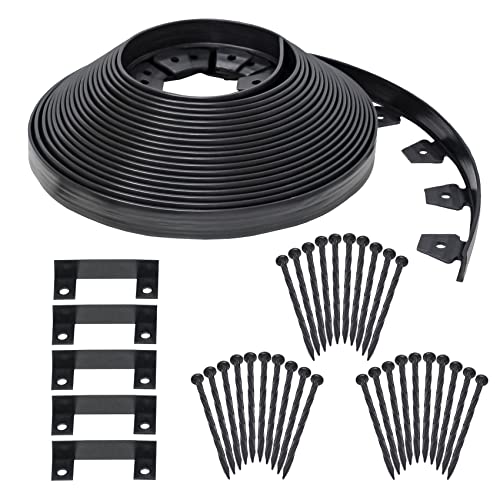
![]()
Click here to see this EasyFlex no-dig landscape edging on Amazon.
How Do You Install No Dig Edging?
Garden edging that requires no digging is quick and straightforward to install. It is excellent for delineating landscape beds and even holding bricks for patio and sidewalk projects.
These are the steps on how to install your no dig edging:
1. Remove Materials
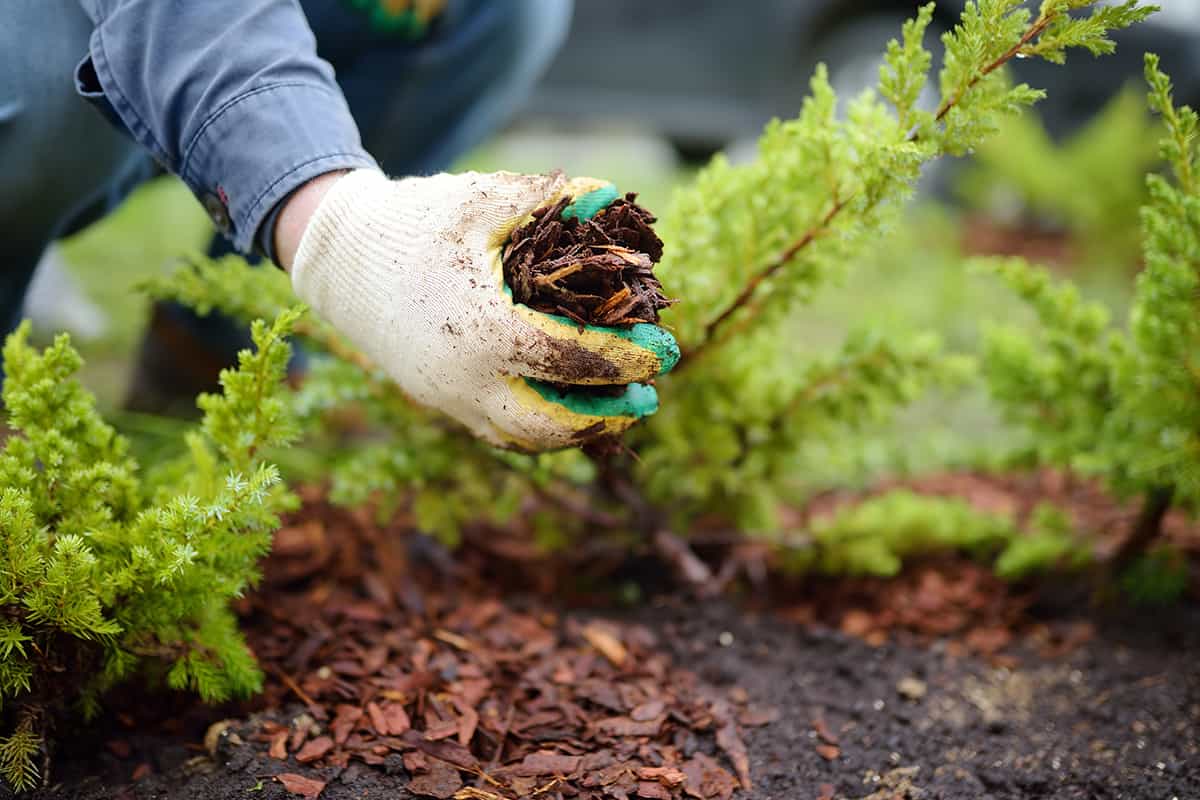
Remove all grass, rocks, mulch, and any excess material that may decompose from the installation area over time. This will allow the edging to lay flat on the ground surface and provide a better finished edge.
Before the installation, you must be certain that there is nothing in the way of the edging tab and the dirt underneath.
2. Place Weed Fabric
For an additional layer of weed defense, combine no dig edging with weed fabric. The spikes aid in stabilizing the barrier and quickly cut through weed cloth. The plastic is solid but flexible enough to give any shape garden a clean edge or to make little circles around trees.

![]()
Click here to see this garden weed barrier on Amazon.
3. Connect The Edging
An interlocking staking technique is used to unite and secure the pieces, resulting in an almost maintenance-free edging material.
Push the locking connector into one locking section of edging until the pin locks in place. Push the two edging pieces together until the second pin locks in place. Continue connecting all pieces.
4. Place The Connectors
Before installation, compact the cleared soil to minimize spike movement due to frost heave and shifting earth. With the anchoring tabs facing the planting bed, install the edging in the desired shape on the prepared surface.
Because they are shipped flat, there are no fighting long and difficult-to-handle coils that seem impossible to straighten and install.
It is designed to sit on the ground surface, so you don't need to dig a trench and a wall height of 1.5 inches. It's high enough to provide a clean barrier between your planting bed and lawn.
5. Inspect For Low Spots
Look for gaps between the edging and crown surface, indicating low spots. Remove edging and fill in the low areas.
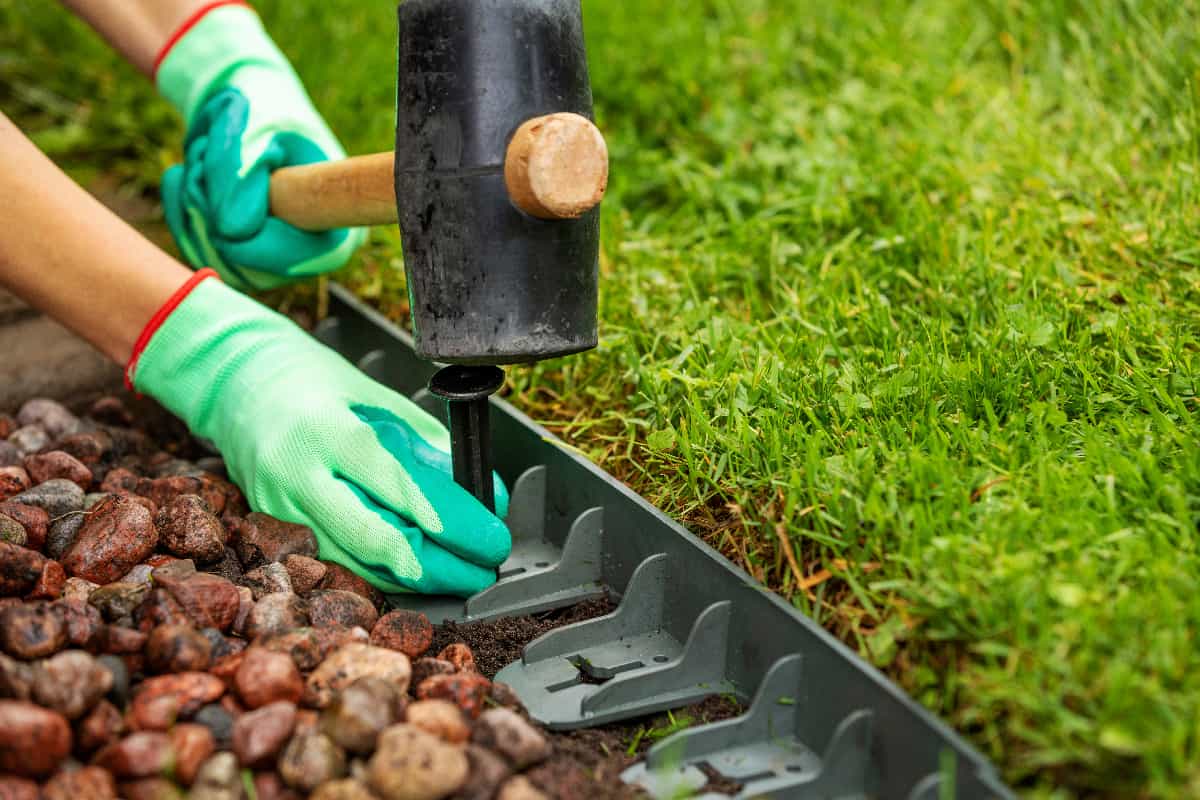
6. Insert Spikes
A sufficient number of anchoring spikes is provided to support a standard installation. Hammer the anchoring spikes through a pre-drilled hole on the tab at the back of the edging.
It is necessary to spike every tab. Most basic installations require only one spike every 24 to 30 inches. Certain installations with tighter curves may require more frequent spiking.
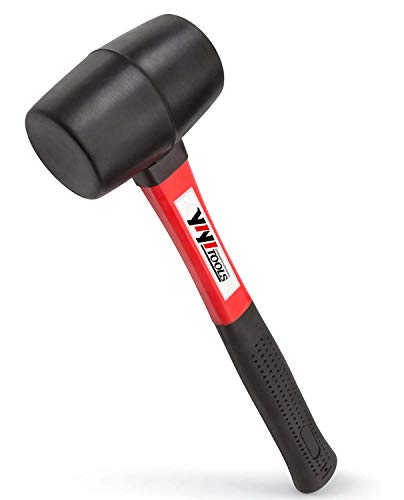
7. Pound The Spikes
You should pound only the top of the edging tab with anchoring spikes. Use a rubber mallet to pound the spike into place. Pound spikes until the nail head is flashed against the anchoring tab.
Aggressive pounding can result in damage to the spikes.
![]()
Click here to see this rubber mallet hammer on Amazon.
8. Put Soil Over Tabs
Once the edging strips are connected, and the spikes are in place, you are ready to backfill. Pack soil over tabs against the back of the edging until you reach the top lip. Make sure a thick layer of bedding material covers the tabs thoroughly.
9. Add Edging Design
Then finish your installation by adding mulch, stones, or any other bedding material you prefer.
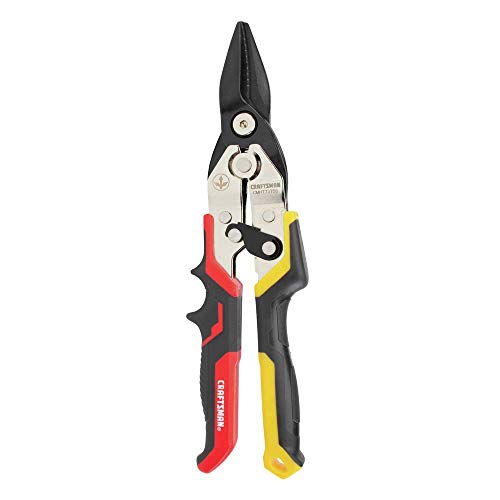
Can I Cut The No Dig Edging?
When cutting edging, always remember to use safety precautions at all times. Clear the area of loose dirt and trash, and position the edging where you want to cut it.
You can utilize a fine tooth saw or a snip to cut the anchoring tabs' edging.
![]()
Click here to see this Craftsman snip on Amazon.
Does No Dig Edging Keep Grass Out?
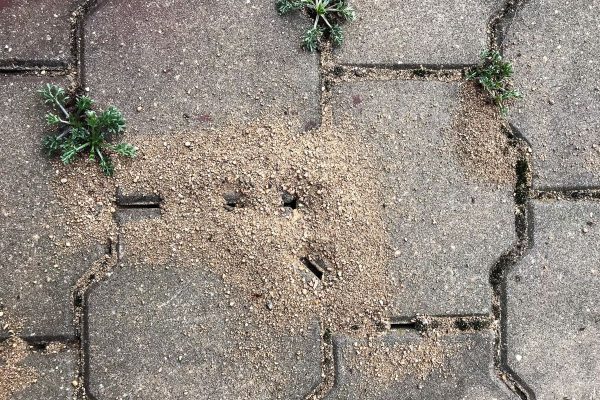
No-dig landscaping edging can't stop grass from sprouting underneath. Even shallow root grasses will find it very simple to cross no-dig landscape edging since it is not anchored to the ground.
No-dig landscaping edging is not ideal if you want to prevent grasses from encroaching on your garden or flower beds.
In Closing
No dig edging is beneficial to keep the rock confined and apart from your lawn areas if you're considering using rock or gravel in your landscaping.
In terms of anchoring the spike, sometimes, rocks and roots can make it difficult to anchor the spike fully. Remove the spike and try anchoring on the tab on either side of the problem area.
Don't forget to have fun while being inventive. We also have these other posts that you might be interested in:
No Dig Edging Vs. Regular Edging – Which To Choose?