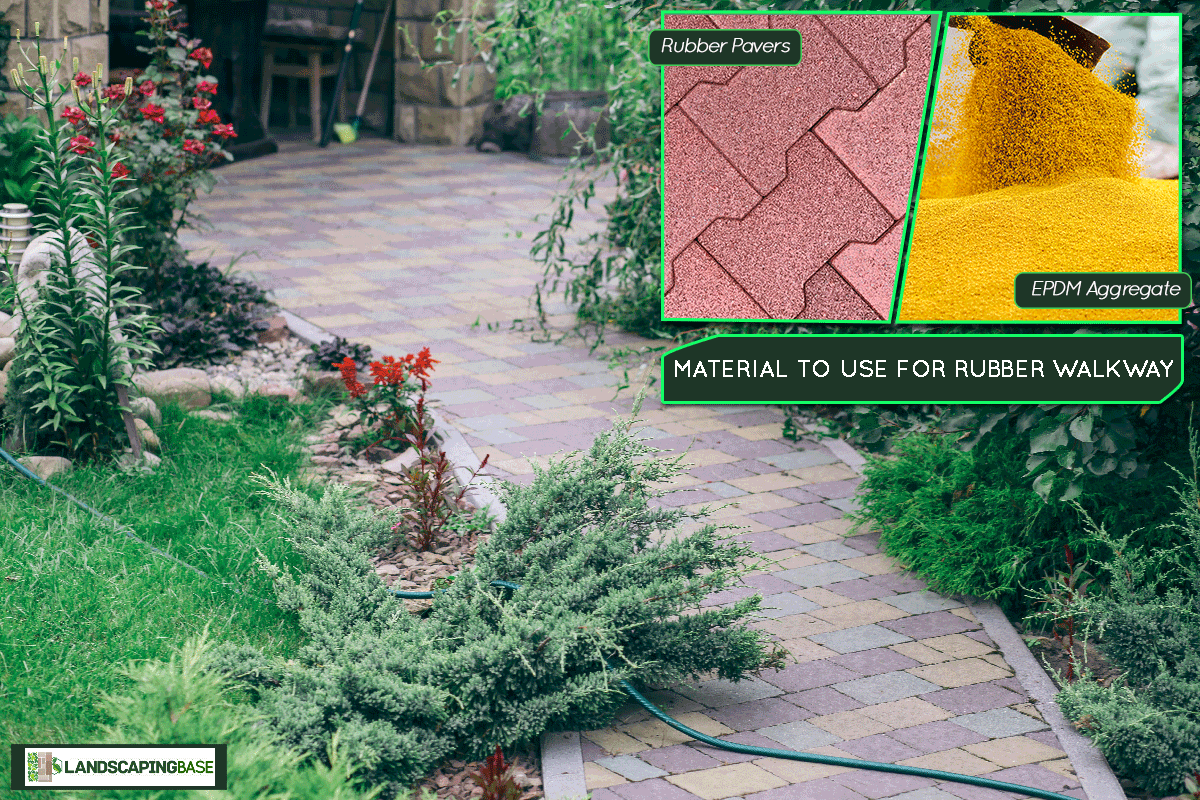
Are you doing a walkway project, and you’re wondering how to make a rubber walkway for your house? Wonder no more, for we have researched this question, and we have the answer for you.
There are two installation methods and each one is dependent on the type of material that you will use for your rubber walkway:
- The first option is to use rubber pavers that you can install similar to regular pavers.
- The second option is to use EPDM aggregate that you can install like wet concrete.
Learn about the installation method of each type of material to build your rubber walkway in the succeeding sections.
Read on!
How to make a rubber walkway using rubber pavers?
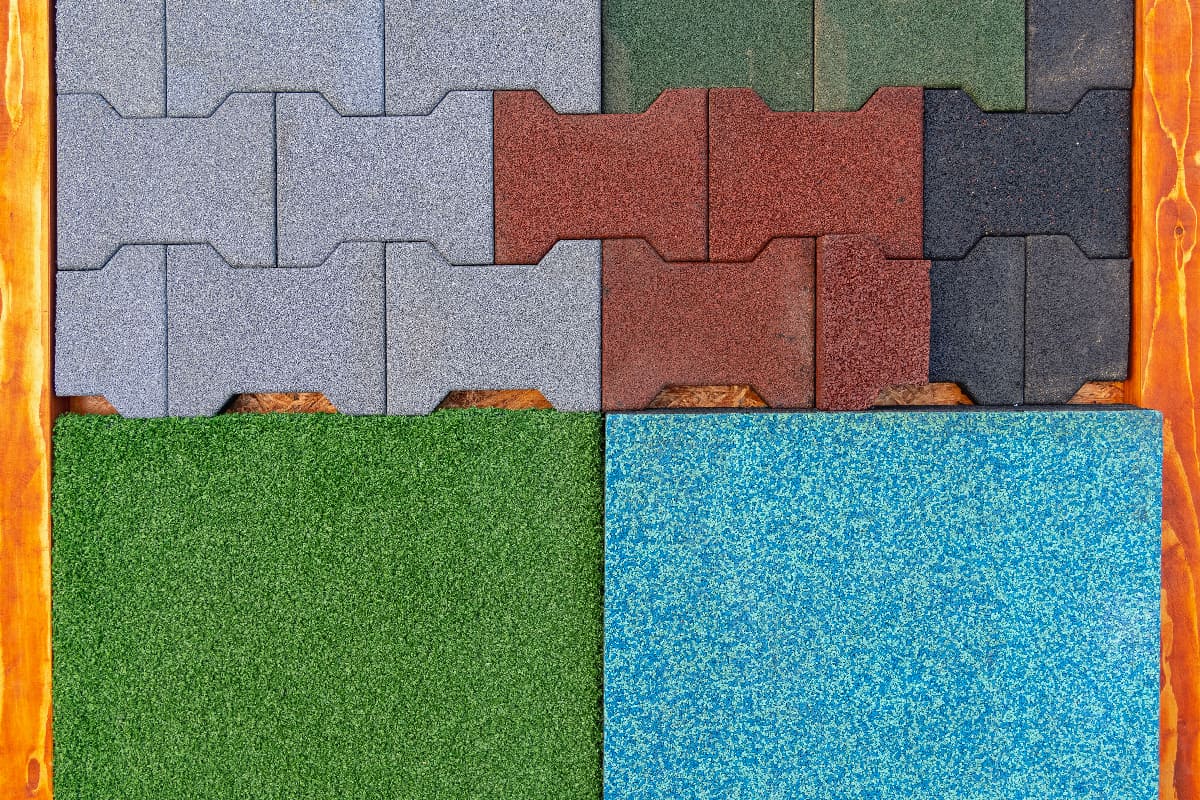
Rubber walkways have several advantages over other paver materials that make them the ideal choice in many situations. They are best for walkways that are frequently used by children and elders.
Rubber pavers absorb water well, making them safe from slipping. Falling over rubber pavers during play will not lead to any serious injuries because this material absorbs impact very well.
Rubber pavers also last a long time. They are weather resistant and need very little maintenance.
Best of all, they are cheap and are made from recycled tires, making them a sustainable option for installing walkways and patios around your house.
The installation of a rubber walkway made from rubber pavers is relatively easy. You don’t need any special tools or special skills to do it. Follow the steps below to install your rubber walkway.
Preparing For Installation
- Contact your local utilities to know where the cables and pipes are in your backyard.
- Consult your local building authority to find out if you need any permits for the installation.
- Consult local building codes where you live to find out if there are any building codes that you need to comply with for the installation.
- Measure the area where you plan to install the walkway. Make sure you have enough distance from any utility lines. Another important reason why you need to measure the area is that it will tell you how many rubber pavers you would need to complete your project.
- Mark the installation area with stakes. Tie a string to connect the stakes and create a perimeter. This will create an outline of the area for your walkway
Getting The Ground Ready

- Excavate the area within the perimeter. The depth that you need is at least seven and three-quarter inches. The exact depth should be five inches plus the thickness of your rubber pavers.
- Use a rake to level the subsurface soil. This will help make the soil even.
- Create a slight incline pointing away from your house. Measure at least an inch of incline every eight feet of length.
- Compact the subsurface soil.
- Pour in your granular base, one inch thick, and spread it evenly on the subsurface. Compact it. Keep adding another inch of granular base and compacting it well before you add the next layer. Keep doing this until you reach a depth of four inches.
- Moisten the granular base and compact it once more.
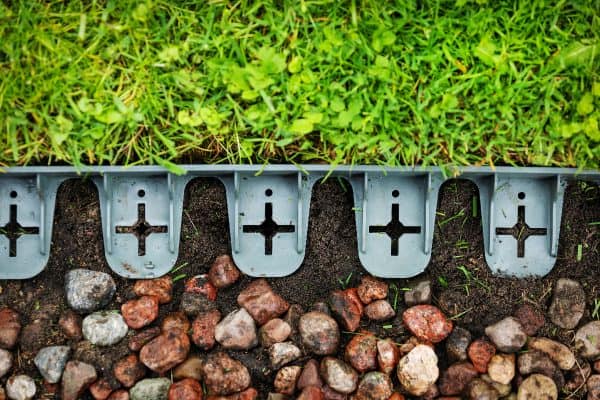
- Install edging on two adjacent sides. This will allow you to install the rubber pavers later and prevent unnecessary cutting.
- Install a layer of geotextile over the granular base.
- Spread a layer of bedding sand one inch deep.
- Screed the bedding sand to one inch deep.
- Compact the bedding sand.

![]()
Super Geotextile is available on Amazon through this link. This non-woven fabric is Ideal for landscaping, French drains, and underlayment.
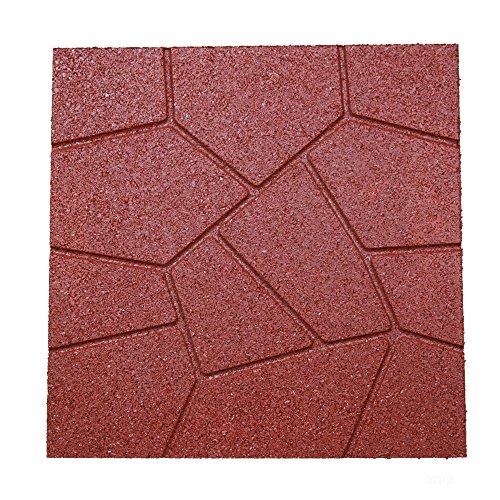
Installing Rubber Pavers
- Pick the straightest edging and start laying the first pavers. Make sure that the pavers are tight together.
- Place a string line across the stakes to keep the next pavers level. Use a rubber mallet to get the pavers into a tight position with each other after you install a few pavers in a line.
- Install the rest of the edging after you install all the rubber pavers. This allows you to adapt the edging to the pavers and not the pavers to the edging.
- Use a sharp utility knife if you need to cut or trim any rubber pavers to fit.
- Remove the strings and the stakes.
![]()
RevTime Dual-Side garden rubber paver is available on Amazon through this link.
How to install a rubber walkway with EPDM pour-in-place rubber?
EPDM is a synthetic rubber. It is fire-resistant to prevent fire outbreaks from spreading. It is weather-proof and requires very little maintenance.
You can install pour-in-place rubber on existing concrete, asphalt, pavers, or bare ground. If you plan to install over a fresh concrete slab, let the concrete cure for seven to nine days before beginning installation.
Here are the simple steps to install a rubber walkway using pour-on rubber. Skip the section “Preparing The Area For Installation” below if you are installing over concrete, asphalt, or existing pavers.

![]()
Fast Patch Poured-in-Place Surfacing Repair Kit is available on Amazon through this link.
Preparing The Area For Installation
- Measure the area where you plan to install the walkway.
- Hammer stakes into the ground surrounding the area of the walkway.
- Tie strings connecting the stakes to make it easier to visualize the area of the walkway.
- Dig a depth of four inches within the perimeter of the walkway.
- Compact the bottom of the area. Moisten the ground and then compact it some more.
- Pour a layer of bedding sand an inch deep.
- Use a rake or other similar tool to evenly distribute the bedding sand.
- Compact the area while sprinkling some water over the surface.
- Pour in another batch of bedding sand until you get to a total of two inches deep.
- Spread the second layer of bedding sand evenly.
- Compact the bedding sand once more while sprinkling water over it.
Preparing The Surrounding Area
Follow these steps only if you’re installing the rubber in a place where there are existing structures. For example, your walkway will likely be up to your front porch.
If your walkway will touch the surface of your porch, cover the part of your porch that will be exposed to the rubber with painter's tape. Do the same for any other surface that will touch the rubber walkway.
Mixing The Rubber Solution

When you buy your pour-in-place, you get a bag or sack of rubber crumbs and a container of liquid solvent or glue to bind the rubber. The common ratio is 22 pounds of rubber crumbs and 2.2 pounds of rubber binding glue.
Some brands also include a lubricant for your trowel. Without the lubricant, the rubber crumbs will stick to your trowel and make it difficult to maneuver and even out the rubber layer.
- Make a small tear on the sack of pour-in-place rubber.
- Carefully pour into the sack the glue solution.
- Seal the sack or bag once more. The sack or bag typically includes a zip lock that you can use to reseal the bag once you have both the rubber crumbs and the binding glue inside.
- Knead the solution thoroughly for a minute to a minute and a half. You have to make sure that the rubber crumbs and the glue are well mixed, or you will end up with rubber crumbs that will not stick to the rest.
Installing The Rubber
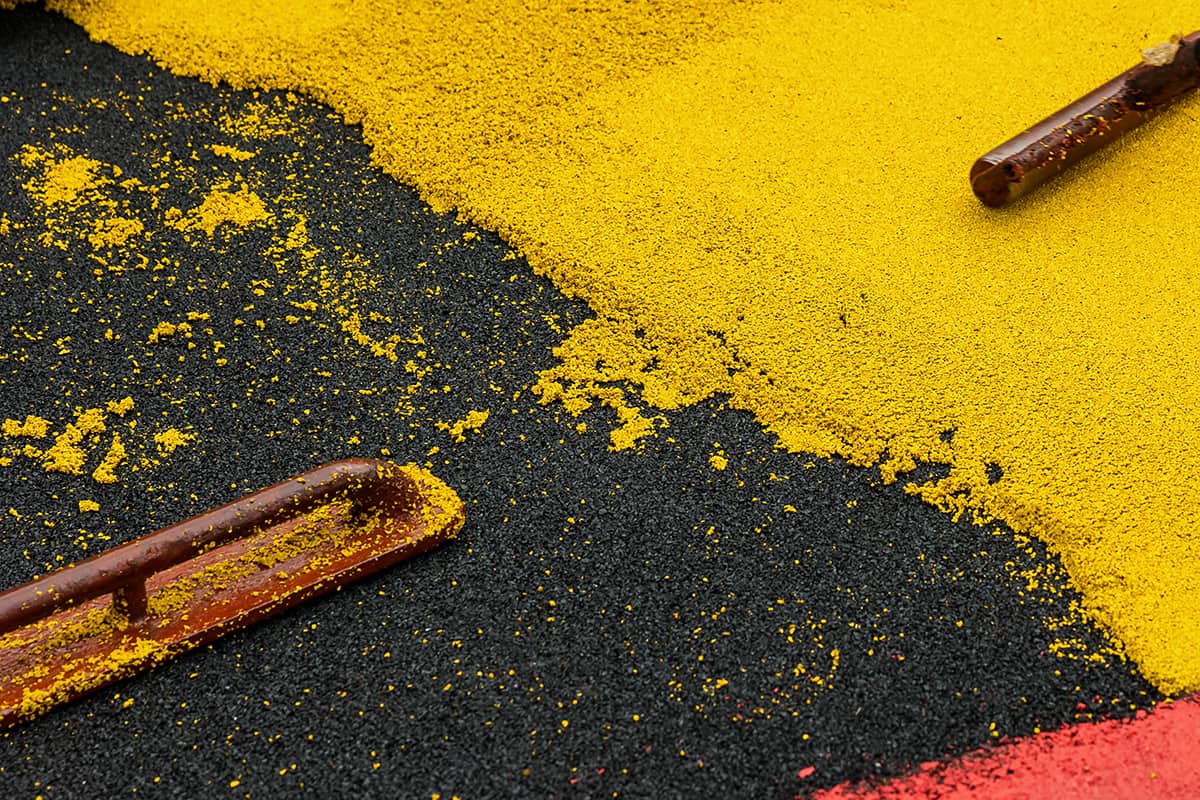
- Open the bag of rubber and pour it over the area that you marked.
- Spray your trowel with the lubricant. If your pour-in-rubber did not come with a lubricant, you can use soap and water. The lubricant ensures that the rubber mixture will spread with the movement of your trowel and not stick and accumulate on your trowel.
- Spread the rubber evenly on the surface of your walkway using the trowel, similar to how you would spread wet concrete.
- Compact the rubber by tamping it with your trowel. If you compact the rubber too much, the rubber will be harder. Less compacting will make the rubber a little softer and better able to handle impacts. If your walkway encounters heavy traffic from time to time, install a thicker layer of rubber and compact it more.
- Add more rubber as needed until you’ve covered the entire surface. Keep in mind that the rubber mixture gives you only an hour to spread and compact it. Beyond that time, the rubber compounds start to harden, and they will become very hard to work with.
- Leave the area for at least 12 hours to cure. If your location is cold, let it cure for 24 hours. Never let anyone step on the rubber while it is still curing.
- Remove the strings and the stakes.

![]()
Goldblatt 3 Pieces Drywall Trowel is available on Amazon through this link.
Conclusion
The installation method for a rubber walkway depends on the material that you will use. Follow the instructions above carefully and you'll have a lovely paver or pour-in-place rubber walkway.
If you enjoyed reading this article, you might find the articles below equally enjoyable to read: