
Do you have a pergola project that you’re planning to do, and do you want to know the size of carriage bolts to use? You’ve come to the right place, for we have researched this question, and we have the answer for you.
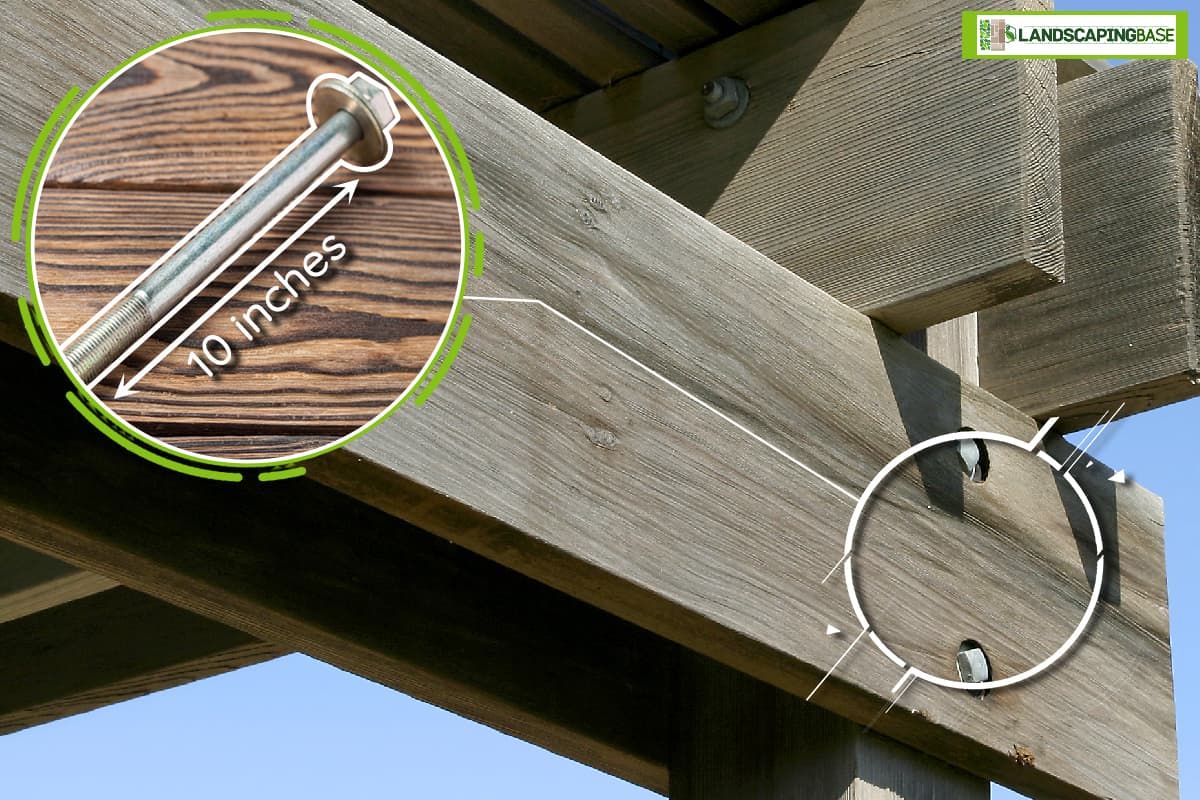
The common size of carriage bolts used for posts and bearers of pergolas is 10 inches.
This size can change depending on the measurements that you plan to use on your pergola. You will find it easier to adjust the size of the carriage bolt to the needs of your pergola if you also have the steps on how to build one. And we have exactly that in the succeeding sections.
Read on!
What is a pergola?
A pergola is an open outdoor structure that is a common addition to a large garden. It is made of columns supporting a grid of rafters. The grid can be left open and covered with vines, or it can be covered with light material to provide the area a modest shelter from the elements.
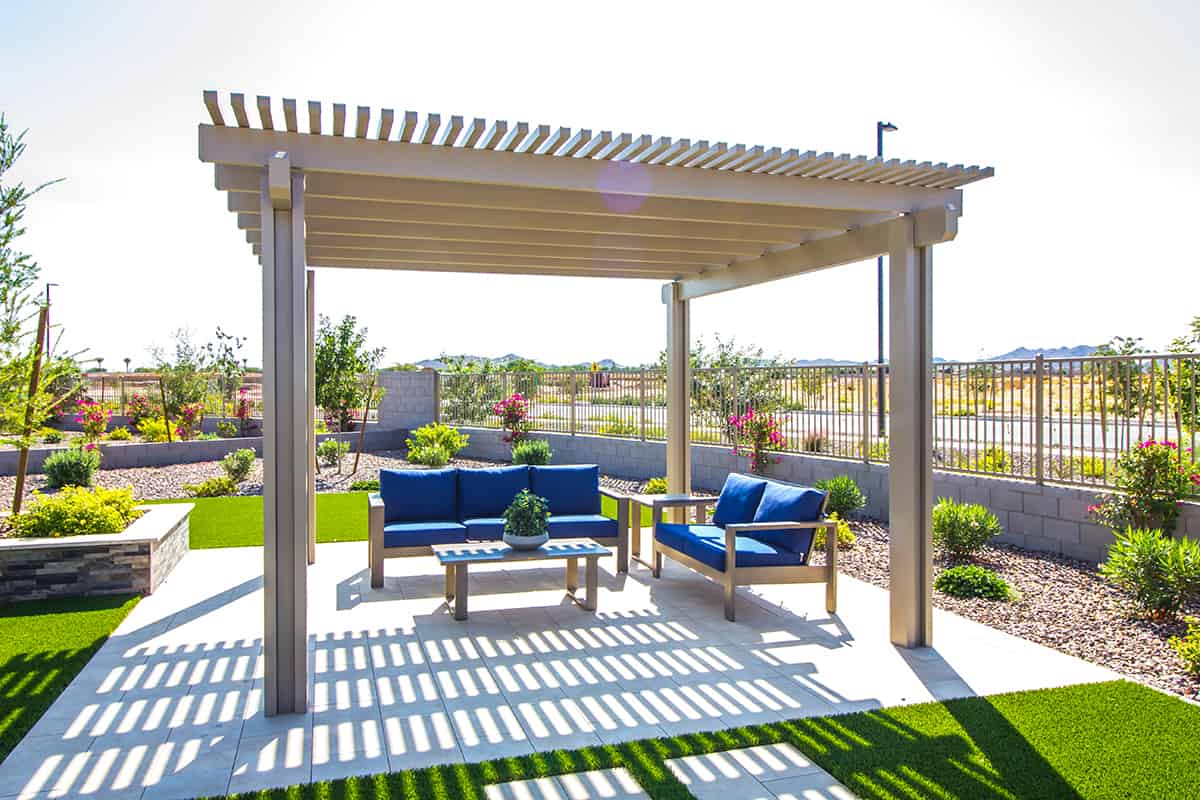
Pergolas can be independent of the house, or they can be built attached to a part of the house, sharing part of the support structure. A pergola helps to extend the outdoor living space of a house.
Difference Between Gazebo And Pergola
A gazebo is also a landscaping structure like a pergola. However, there are three main differences between a pergola and a gazebo.
A gazebo always has a circular shape, unlike a pergola that can have any shape. Because a gazebo should always have a circular shape, it can never be built attached to the house. It is always built as a freestanding structure.
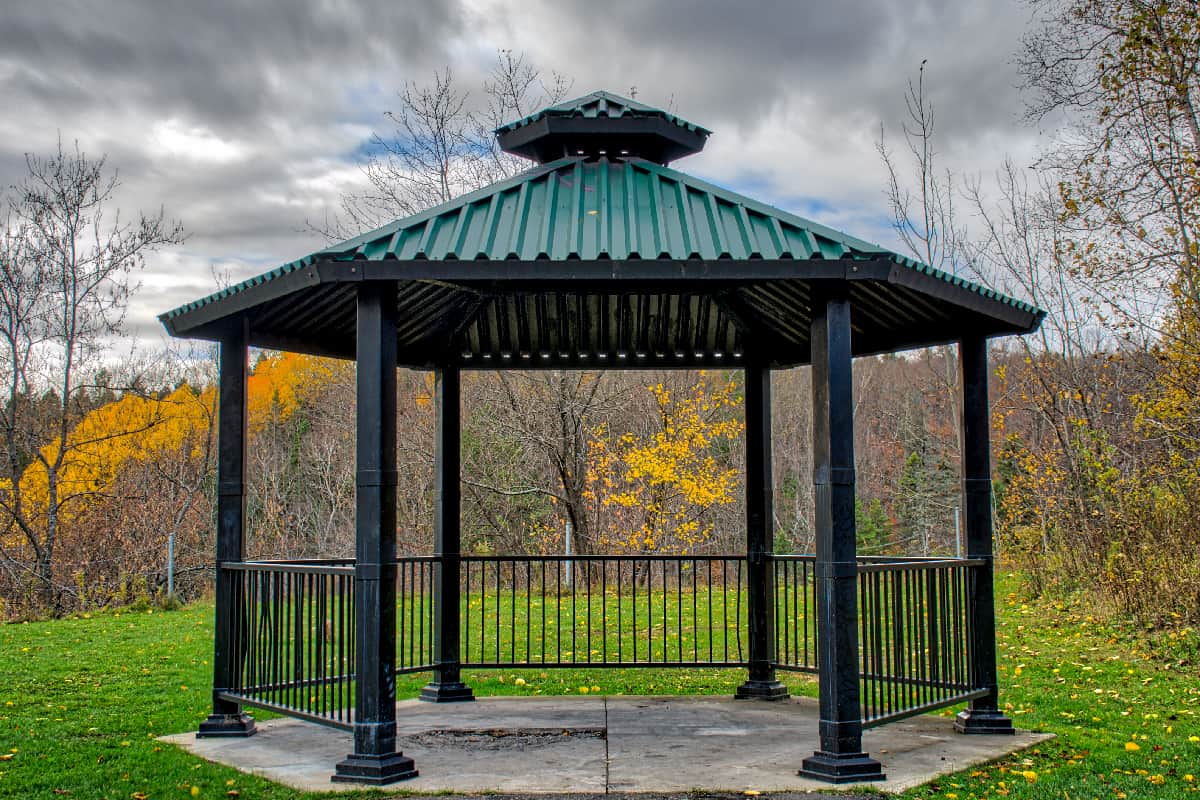
A gazebo also always has a closed roof, while a pergola can have an open roof or a closed roof.
The biggest difference between the two is a floor that is above the ground, which is a requirement for gazebos. Because of the above-ground floor, gazebos always feature decorated staircases that match their structure.
A pergola often has a floor that is level with the rest of the garden.
How to build a pergola?
One of the first steps in building a pergola is considering your region and choosing a wood that will match it. If your region is known for wood rot and insects, pick a type of wood that is resistant to these types of damage.
Getting Ready
- Consult your local authority regarding permits that you need to obtain before you can build your pergola. Some states do not require permits for a structure that you do not connect to the house, while some have height-specific minimums before they require you to obtain a permit. Check your local building code and match it with the measurements of the pergola that you plan to build.
- Contact your local utilities to find out the location of the utility lines. Building codes usually have requirements when it comes to building structures close to the utility lines. Make sure you plan your pergola within the codes and at a safe distance from the utilities.
Measuring The Area And Building Profiles
- Measure the area and mark the location of your post holes. You can use spray paint to mark the area or some sand. Whatever method you use, make sure that you can easily find the marks later.
- Lay two pieces of 4X1 at least three feet in length and place them at least a foot and a half from the outside corners of your corner markings. Connect the two pieces of wood at the corner using two nails. Make sure the corner is square.
- Use wooden pegs driven into the ground to keep the 4X1 in place. Make sure the 4X1 is level before you fasten it to the pegs with a nail. And make sure that they maintain the same distance from the markings.
- Repeat Steps 2 and 3 to install the same 4X1 to the other three corner marks.
- Line up two nails with the corner marks and hammer them down into the 4X1. Do this for all the corners.
- Connect the nails with strings. The area bound by the strings should match the area with the corner marks.
- Measure the diagonals to make sure that you have a square area.
Digging The Posts
- Measure the size of the posts using the corner marks as a reference point.
- Dig your holes six inches deeper than the building code requirement. Fill the extra six inches with gravel.
- Compact the gravel with a 2X4.
- Build your columns on top of the gravel layer based on your local building code. You need a minimum of two columns for a pergola that you will connect to your house, while you will need at least four columns for a freestanding pergola.
- Let the concrete cure. Follow the instructions of the concrete’s manufacturer regarding curing times.
Installing The Bearers
- Once the columns are cured, you can remove the profiles and string lines. Fill the surrounding area of the columns with soil.
- Mark the height of the columns and the position of the rebates. The rebates are cut on top of the columns. It is where the bearers will sit. Use a cutout of the bearer and measure the depth of the cut that you will need to match the thickness of the bearer.
- Place a temporary nail at the bottom of where you have a rebate mark and measurement.
- Place the bearer on top of the nail and use a level to get the bearer to a level position.
- Once the bearer is level, mark the position on the next post.
- Repeat the same steps to transfer the measurement of the rebate to the other columns.
- Cut out the rebates on the columns.
- Measure the length of the bearer. Include the measurement of any overhang that you would like to include on both sides of the bearer. You can later stylize the overhang however you want.
- Cut the two bearers following your measurements.
- Determine how many rafters you’d like to use. Mark their positions on the bearers, making sure that they have equal distance from each other.
- Place the bearers on the columns, sitting them on the rebate.
- Clamp the bearers to keep them in place while you drill two pilot holes for the carriage bolts.
- Hammer the carriage bolts into the holes. This will allow the square collar of the carriage bolt to bite into the wood. The square collar allows you to tighten the nut on the other side.
- Secure the opposite side with a nut.
A Note On Bolts
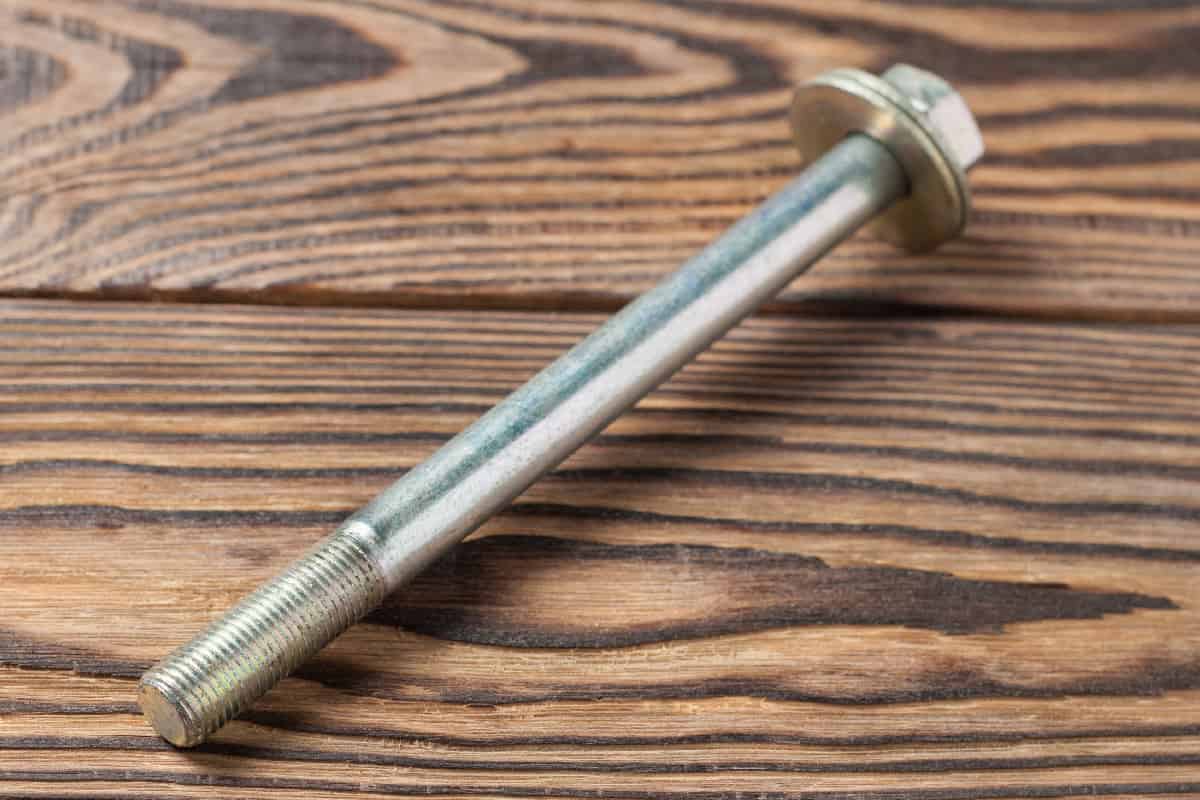
The length of the bolt should be enough to go through the column and the bearer. Use a stainless bolt to prevent it from rusting.
If you plan to use a metal bracket to secure your bearer, look for a bracket that has a square hole that will fit the square collar of the carriage bolt. Otherwise, you will be better off using a regular round bolt with the steel bracket.
A carriage bolt has a smooth round head that you cannot hold down while you secure the nut on the opposite end. The square collar will just slide on a metal bracket unless it has a square hole that will fit your carriage bolt.


Rafter connectors are available on Amazon through this link.
Installing The Rafters And Battens
- Measure the length of the rafters and add the length of an overhang that you’d like to add.
- Cut the rafters following your measurements.
- Line up the rafters and mark the position of the battens on the rafters. Divide the distance equally between the number of battens that you plan to install.
- Place the rafter on top of the bearers. Lay them out following the markings that you made on the bearers.
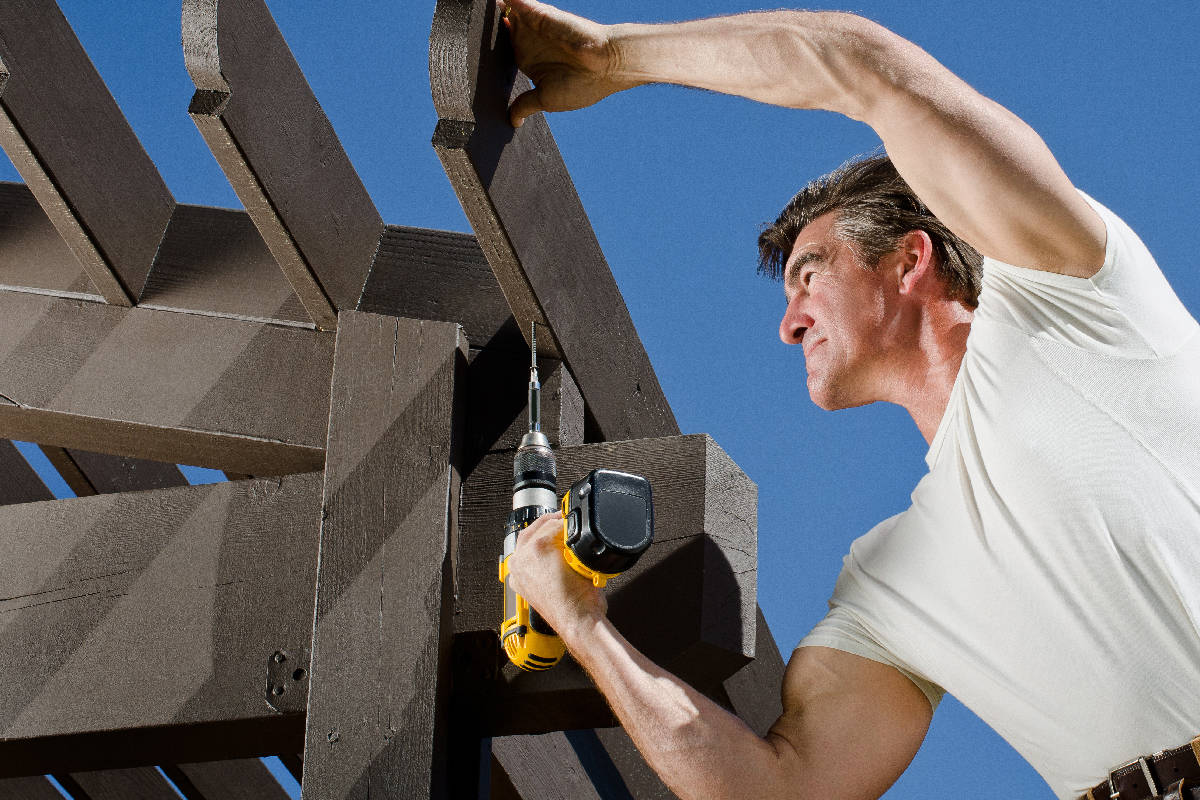
- Screw the rafters to the bearers. Use one screw on both sides.
- Repeat Steps 4 and 5 until you complete securing all the rafters on the bearers.
- Measure the battens, adding any overhang.
- Cut the battens following your measurements.
- Screw the battens on the rafters, following the marks you made. Use stainless or galvanized screws.
Conclusion
A 10-inch carriage bolt is a standard for pergola. Adjust the length of the bolt accordingly if you plan to use a larger column or a larger bearer.
If you enjoyed reading this article, you might find the articles below equally enjoyable to read:
![A man using a portable vacuum to collect dead leaves, Will A Leaf Vacuum Pick Up Mulch? [Can It Remove Leaves From Mulch?]](https://landscapingbase.com/wp-content/uploads/2022/09/Man-using-a-portable-vacuum-to-collect-dead-leaves-600x400.jpg)