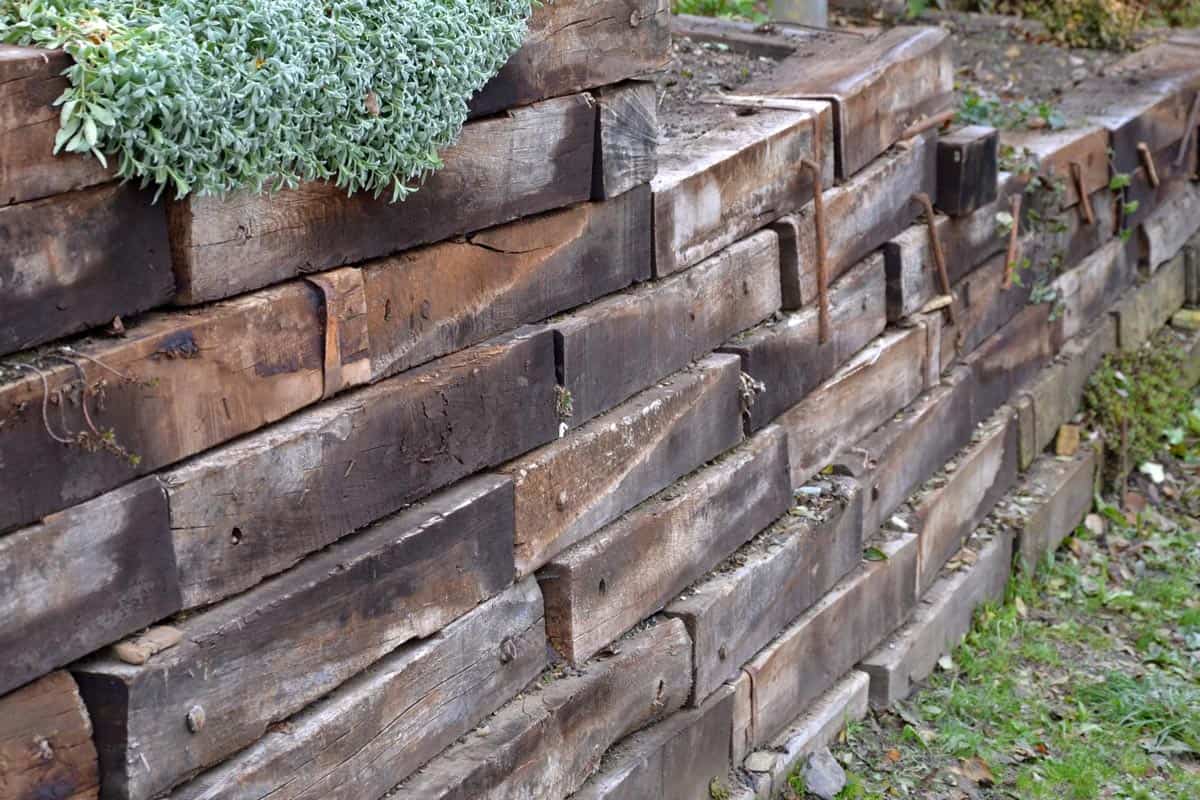
Are you planning to install a timber retaining wall, and do you want to know if you will need to install drainage for it? You’ve come to the right place, for we have researched this question, and we have the answer for you.
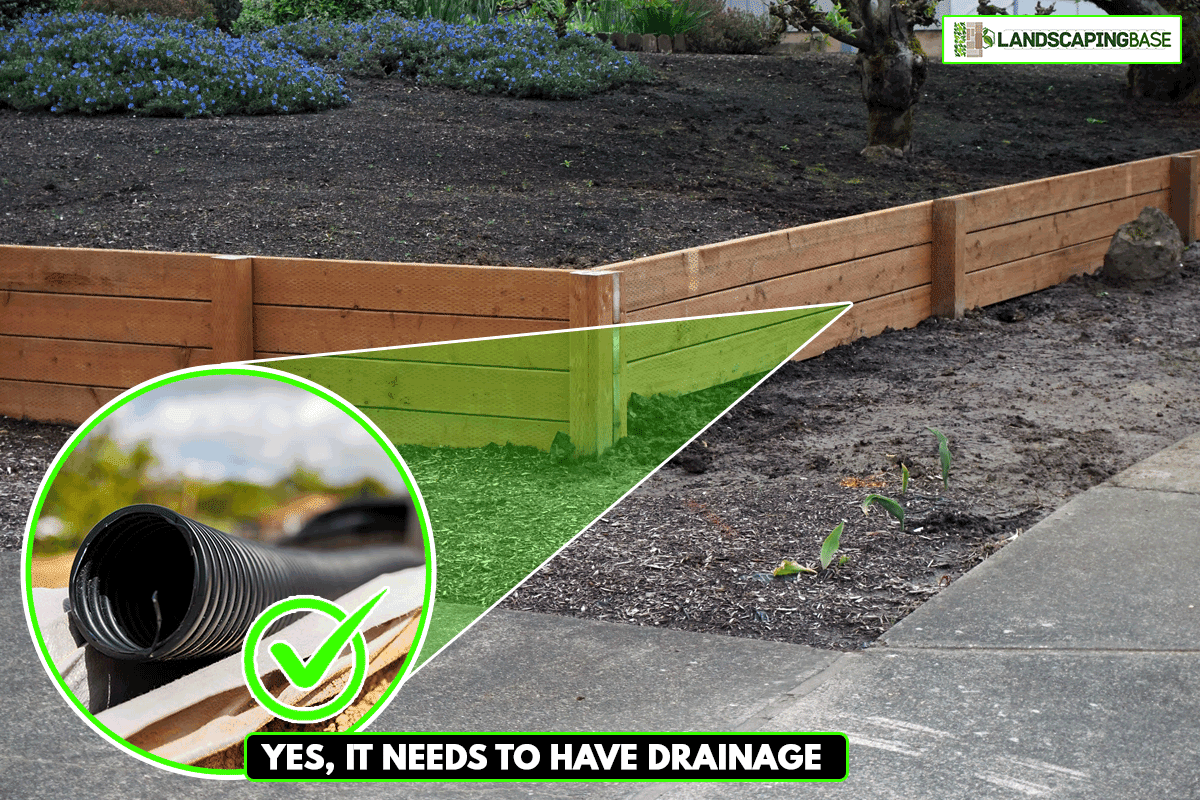
Yes, retaining walls—even those made of timber—needs to have drainage. Else, the ground behind the wall will become waterlogged and will eventually collapse the wall.
Learn about the right way to build a retaining wall and how to protect it from water damage in the succeeding sections. You will also learn how to properly install a drainage system for your retaining wall.
Read on!
What is a retaining wall?
A retaining wall is lateral soil support. It prevents the movement of soil mass between two different elevations. It is often used in landscaping to prevent the movement of sloping soil, especially in downhill terrain. Large retaining walls are used to protect structures like roads around hills or mountains.

How to install a timber retaining wall?
Before you start the project of building a retaining wall, check the house plans for the boundary line. This is important if you’re building the retaining wall to border the ground along the boundary line.
If you can’t find the boundary pegs, you can request a copy of the plans from your local engineering office. Alternatively, you can get a surveyor to help you identify the location of the pegs.
Since you will need to do some digging, you will also need to check your plans for the location of the pipes. Mark the location on your lot so that you can be sure not to accidentally hit those pipes.
If the underground electrical wires or gas pipes are not included in your plans, call the utility providers to know the location of the pipes and electrical wires.
Check with your local government office to find out if you need any building permits for the construction of your retaining wall.
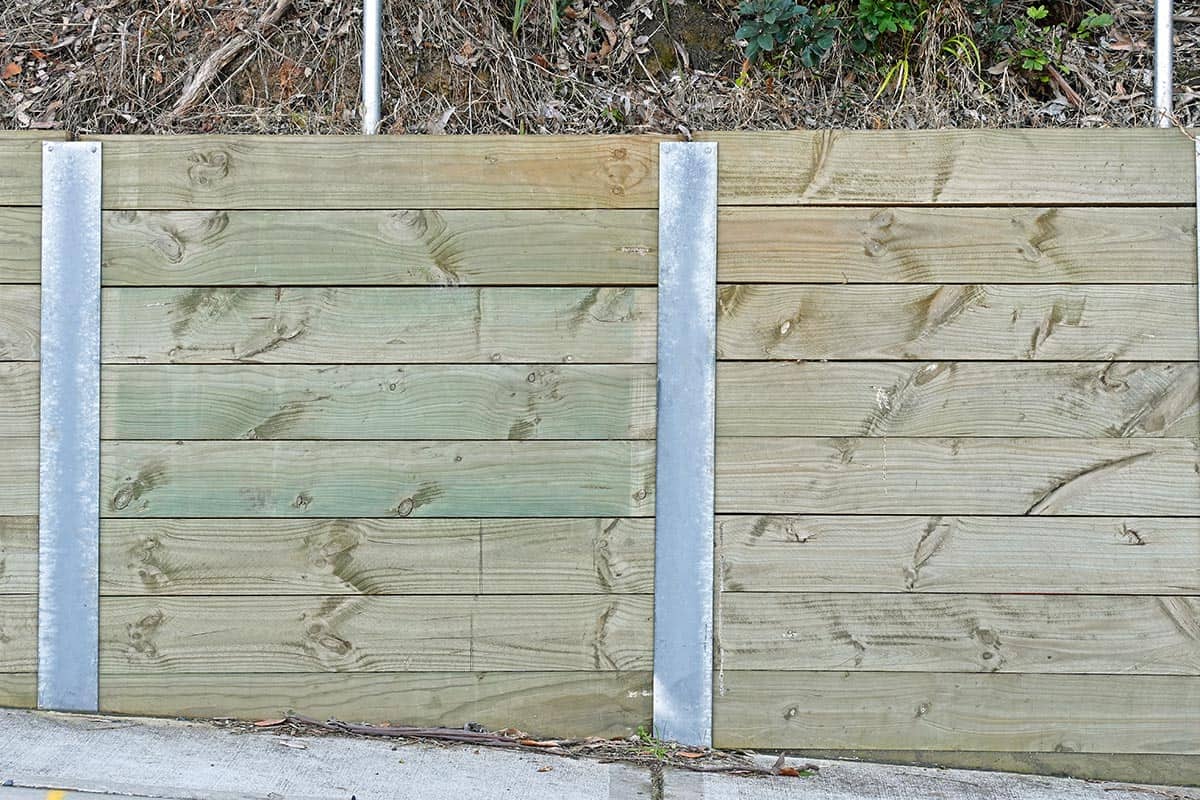
Installing A Retaining Wall Installation With Timber Posts
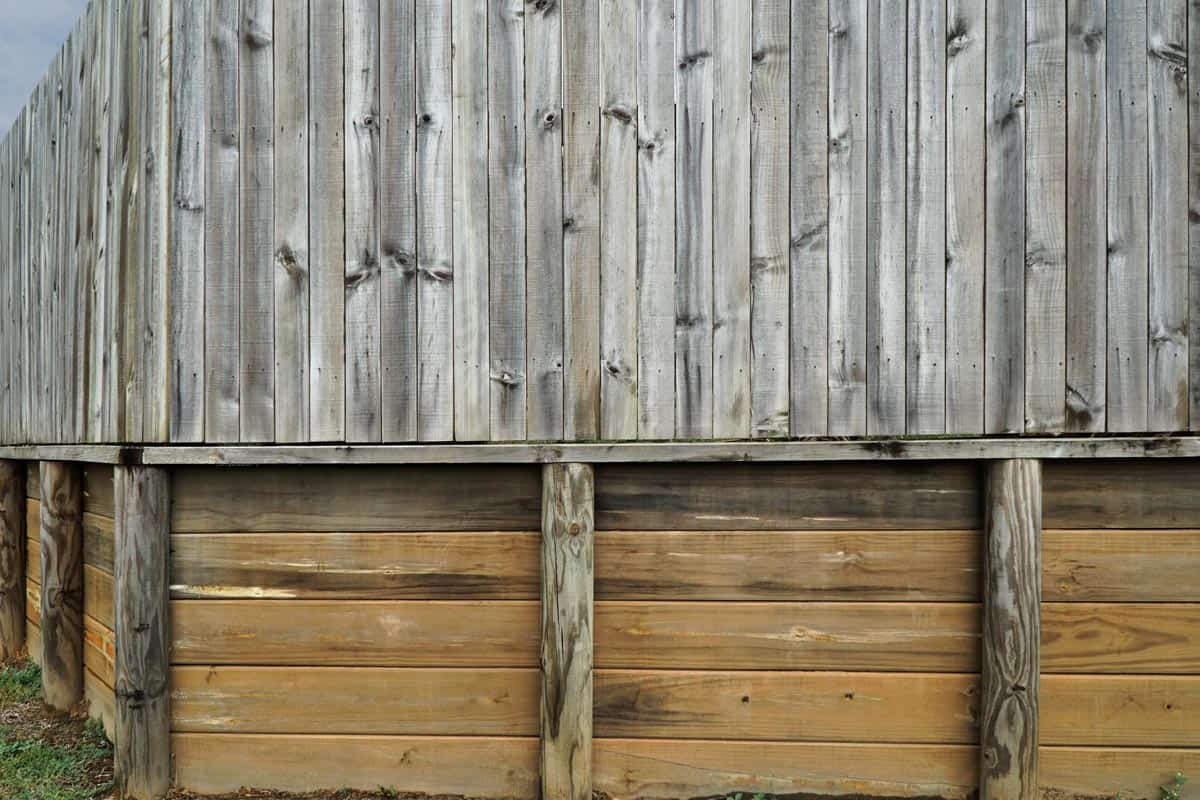
This method is ideal for building a retaining wall close to your land's boundary or one that goes along the perimeter of the boundary. Since this method is for building a retaining wall close to the boundary, it will not make use of a deadman.
A deadman is an anchoring construct that is embedded in the ground. Most deadman designs make use of the weight of the same mass of soil that pushes against a retaining wall to support that wall.
Preparing To Build The Retaining Wall
- Make measurements of the wall that you will build and the drainage behind it. They must all be inside your side of the boundary.
- Setup your string line to mark the height of your timber wall. Be sure to give yourself enough space behind the wall to work. Plan for that space as you mark the areas that you will need to work on. This extra space should also be inside your side of the boundary.
- Measure the centers of the posts for your timber wall. The centers should be no more than four feet apart. You can use colored spray paint to mark the ground where the center of the posts will be. Work your way along the string line and continue marking the centers.
-
- If the length of the wall is not exactly divisible by 48 inches (four feet), divide the entire length of the wall in inches by 48 and then round it up to the nearest whole number.
- Next, divide the total length once more with the rounded-up whole number. This will be the distance between each post in inches so that you will have even space between each post.
Installing The Posts
Dig a hole with a depth equal to at least three-quarters of the height of your post above ground.
- If you plan to have 24 inches of the post above ground, the minimum length of the post that should be underground is 18 inches.
- If you’re going to have a post that is more than 48 inches above the ground, the length of the post below ground should be a minimum of how much length is above ground.
The diameter of the hole should be at least three inches more than the diameter of the post. Use a post hole borer to speed up the digging, especially if you need to dig a lot of holes for your posts.
Always add six inches to the depth for the layer of crushed stone underneath.
- Clean the holes and pour gravel that is six inches deep.
- Set your post on top of the gravel layer. If you’ve already cut your timber post, the cut end must be on top. Cover all exposed wood from cuts with a wood preservative.
- Install a brace on your timber post so that it will be vertically level once you start pouring concrete at the base. If you’re building a retaining wall that is more than three feet high, the wall and the post should have a 10-degree angle with the ground going towards the higher ground.
- Pour concrete until you fill the hole around the timber posts. Poke around the concrete to make sure that you don’t have any air pockets in the concrete. The top of the concrete around the base of the post must be convex. This will ensure that any water flowing down the post will flow down the concrete and not stay there to rot the wooden post.
- Let the concrete set and dry for at least 24 hours before you continue with the next section.

![]()
XtremepowerUS post hole digger is available on Amazon through this link.
Installing The Timber Wall And Drain

If you have sloping ground, you have two choices in installing the timber wall.
The first option is to install the wall parallel to the ground. Your wall will still support the ground behind it even if it is not horizontally level.
The second option is more complex—you install the wall parallel to the horizontal. In this method, you will need to trim the timbers to match the horizontal line and the slope of the ground.
Our steps will cover the installation of a wall on level ground. You can adapt the steps to the two methods if you’re installing on an incline.
- Lay the timber to the back of the posts, facing the higher ground. Use two galvanized screws on the timber for each post. Keep doing this until you install all the timber for the wall.
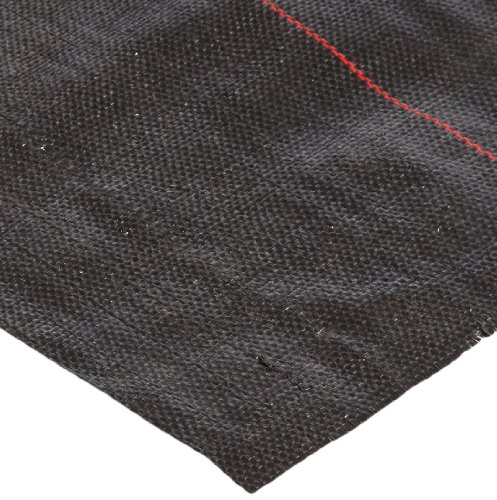
- Lay a layer of geotextile fabric on the ground behind the wall. Let the fabric cover the part of the timber wall that the ground will cover. Fasten it with galvanized staple wires. Extend an excess geotextile fabric beyond the opposite side.
- Fill the back of the wall with a layer of drain rock or gravel that is an inch thick.
- Lay the SDR-35 pipe along the length of the wall, slightly inclining it. The letters on the pipe should point upwards. The highest end of the pipe should be covered with a filter sock. Connect the lower end to a drainpipe going to the sewer or to your rainwater drain.
- Install T-joints every 20 feet of the pipe.
- Install clean-outs on the T-joints.
- Cover the SDR-35 pipe with drain rock.
- Fold the excess geotextile to cover the top of the drain rock. The geotextile prevents the soil from clogging the drain rock.
- Cover the top with soil.
![]()
Geotextile fabric is available on Amazon through this link.
Conclusion
You should always include drainage in the installation of a retaining wall regardless of what material you will use to install it. Drainage will prevent the wall from accumulating water and adding pressure on the wall that can later cause it to collapse or rot—like in the case of timber retaining walls.
If you enjoyed reading this article, you might find the articles below equally enjoyable to read:
![A man using a portable vacuum to collect dead leaves, Will A Leaf Vacuum Pick Up Mulch? [Can It Remove Leaves From Mulch?]](https://landscapingbase.com/wp-content/uploads/2022/09/Man-using-a-portable-vacuum-to-collect-dead-leaves-600x400.jpg)