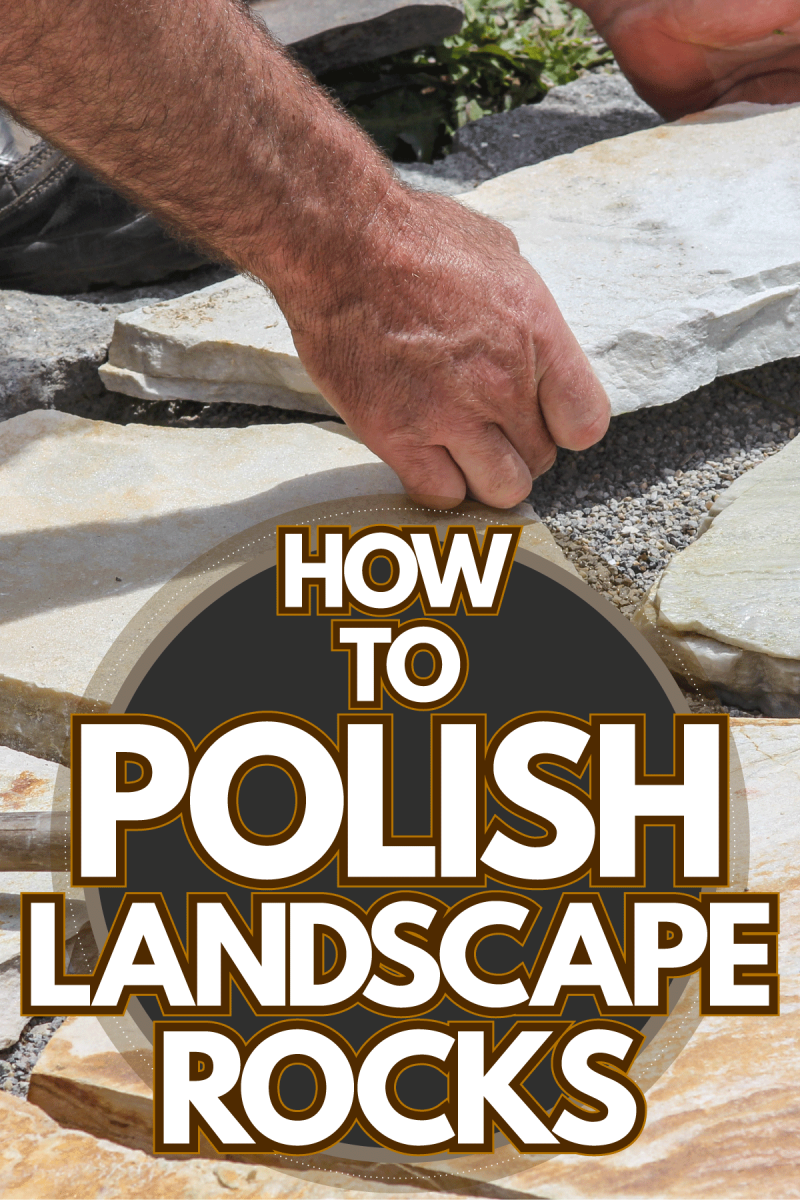
If you want to polish landscape rocks for your garden, you'd be glad to know that it's easy and you can actually do it on your own! If you're looking for DIY methods to polish landscape rocks, you're in the right place. We've compiled the proper ways to polish landscape rocks to keep your garden looking neat and clean.
To polish landscape rocks, here are the basic steps:
- Clean the rocks thoroughly by washing and soaking
- Brush and scrub the rocks to further remove stubborn dirt
- Dry them completely by air drying or place them in a towel to help absorb the moisture
- Add a protective coating for a polished look and to prevent dirt from seeping in
Polishing methods will vary depending on what type of rock you have and its size. You also need to match them with the right type of polishing tools. As you read on further, you will learn all about these things, plus tips on how to maintain your rock garden.
How Do You Make Outdoor Rocks Shiny?
Landscape rocks are an excellent way to add depth and character to your outdoor space. They can be used in a variety of ways, from lining walkways and flowerbeds to creating a fire pit or water feature. They can be used to add texture and interest to your garden or yard.
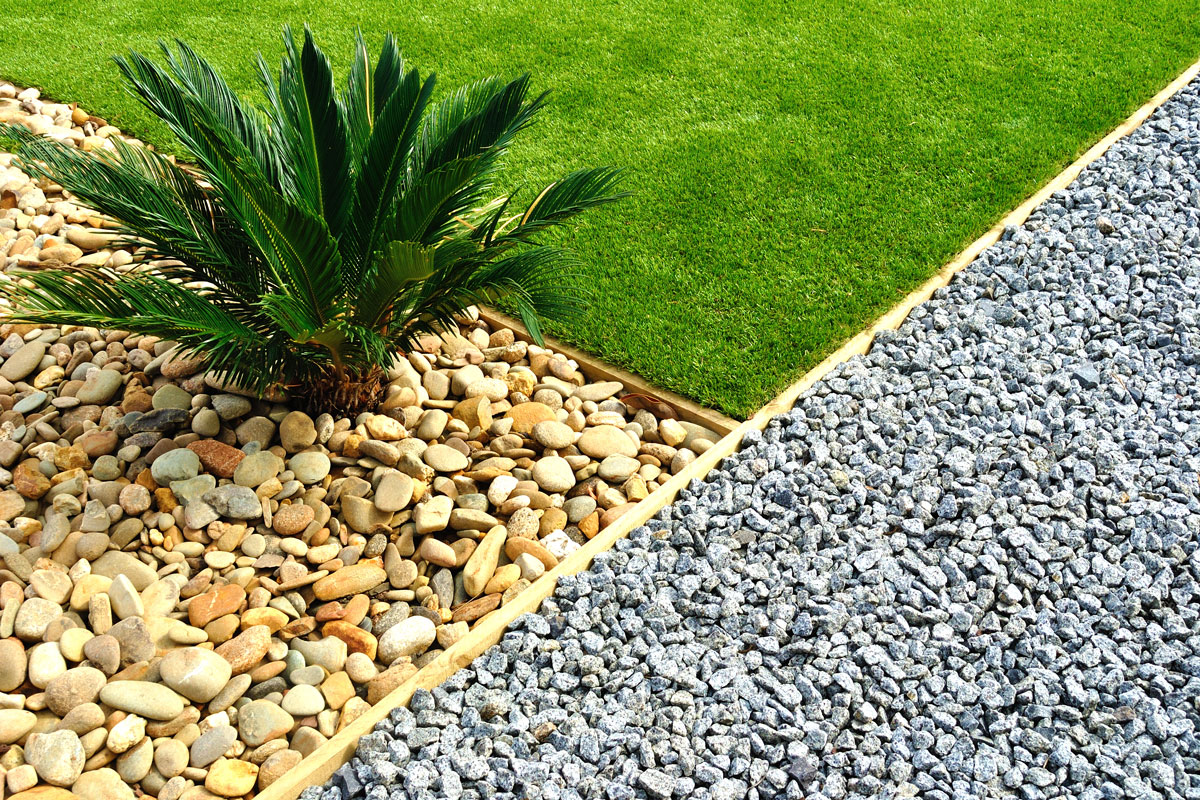
Over time, outdoor landscape rocks can get covered in dirt, dust, and moss, losing their color and shine, and making your garden look dull. Cleaning and polishing rocks will bring back their natural, vibrant color and keep your garden looking neat and immaculate.
Here are the basic steps to cleaning and polishing your landscape rocks.
1. Clean Thoroughly
Place your rocks in a bucket of water with about one cup of soap mixed into it. Dish soap or a gentle formula laundry detergent is safe to use. This will help loosen and remove any dirt or grime from the rock before polishing begins.
How long should you soak? This depends on how dirty the rocks are. Dirt that's easy to lift may only take a few hours of soaking, while rocks with deep-seated dirt that are already covered in moss might need a day or two of soaking.
If you want to remove mold and bacteria growing on the rocks, you can use vinegar soak instead of soap. Vinegar has natural antibacterial properties and will kill any bacteria that might be present on the rock's surface. For stubborn mold, some resoak using water and a few drops of bleach.
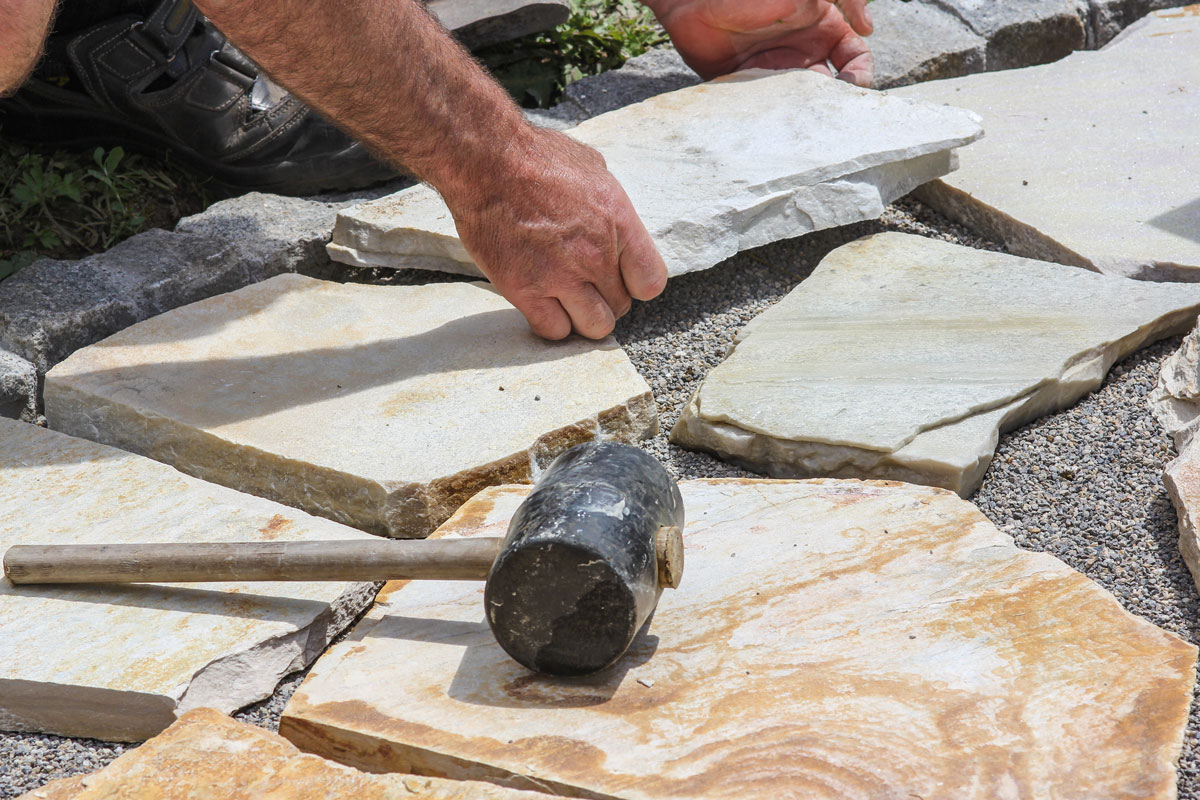
If you're cleaning bigger stones such as pavers, fire pits, flagstones, and stone counters, you may wash and scrub them directly with soap and water. You can also use a power washer to clean bigger slabs of rocks. If you add a cleaning agent to the power washer, make sure that it's not too harsh and is safe for plants.
For further cleaning and polishing, you can try products that don't just clean but also polish these types of stone structures. Below is an example of a pet and plant-safe cleaner.

![]()
Check out this Rock Doctor outdoor stone cleaner on Amazon.
3. Scrub The Surface
Use a brush (you can use an old toothbrush) and water to scrub the dirt off of the rocks. You may want to use a wire brush (like those used on barbecue grills) if there are any rust spots or stains on your rocks. If you have dull and coarse-looking rocks, you can use fine sandpaper to polish them.

![]()
Check out this 3-pc wire brushes pack on Amazon.
Use warm water so that it doesn't cause any damage when it comes into contact with metal parts such as screws or bolts that might be attached to certain types of decorative rock pieces.
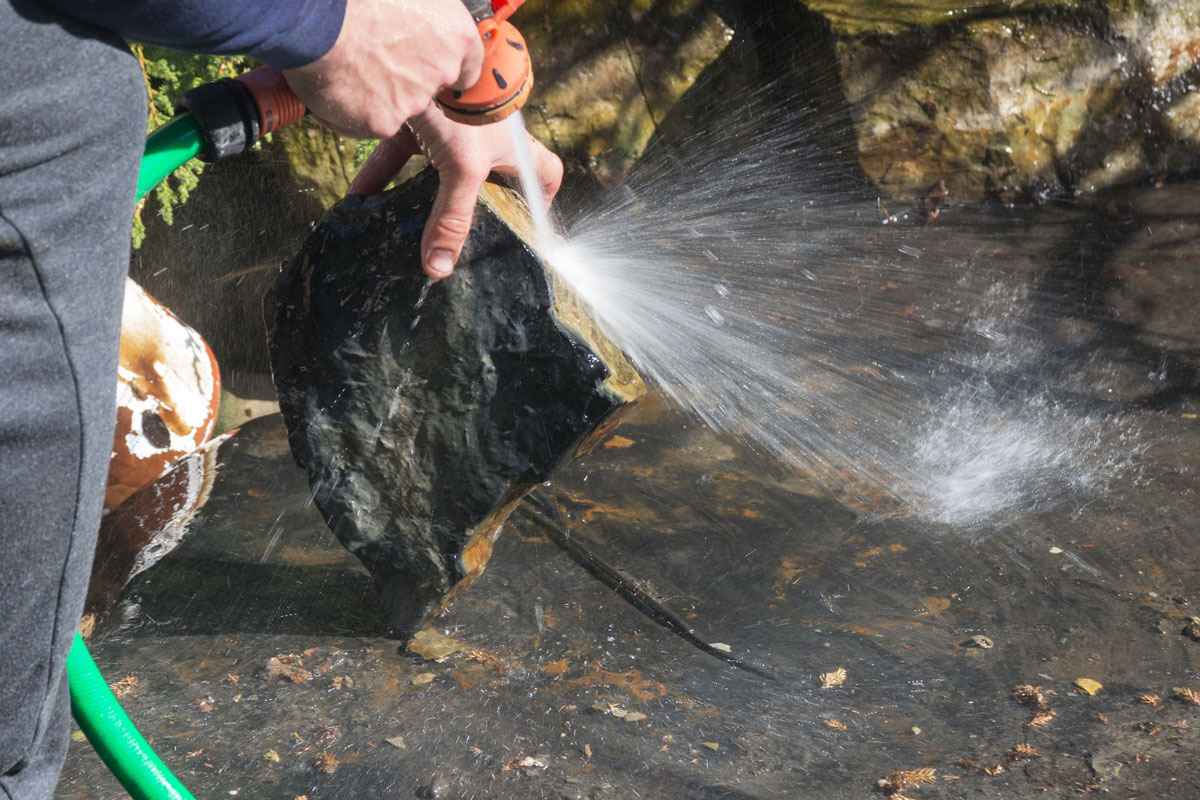
Once you've scrubbed the rock until it's clean, give it a thorough rinse in clear water. Dry it off with paper towels or a rag.
2. Dry Thoroughly

After soaking, wash the rocks with clean water and then lay them out to air dry. If you only have a few pieces of rocks to dry, you can place them on a towel or a screen rack to dry faster. Otherwise, you can spread them outside on the clean pavement to dry under the sun.
Drying the rocks completely will enable you to see if there is dirt, rust, grime, or mold you might have missed. This will also prepare the stones for the next step, which is applying a protective coating.
4. Apply A Protective Coating
After drying, you can apply a protective coating to keep away dirt and moss. There are different types of sealants for different types of rocks. There's quite a variety of products on the market and it can be daunting for those who are doing this for the first time.
You may need to do a bit of research based on the type of rocks you have. If unsure about what to use, you can try a multi-purpose sealant on a few rocks before applying them to the entire area.

Most stone sealants on the market are multi-purpose and can be used on a variety of stone types. You may need to use a sprayer to ensure better coverage. Follow the product instructions.
Spraying is best done on a less windy day to prevent dirt and other elements from getting blown into the rocks and sealed along.
Do not try to seal rocks that haven't been cleaned, otherwise, you will just seal them in the dirt. Thoroughly cleaning the rocks and drying them will help the sealant adhere to the rocks and you get a more polished look.

![]()
Try this Serveon All-Purpose Stone Sealer on Amazon.
What To Put On Rocks To Make Them Look Wet?
Natural stone, when exposed to the sun, wind, and other elements, can lose its shine and color, making it look dull. Giving it a perpetual wet look will enhance its color and make it look more natural.
If you want to make your rocks look wet, there are several products you can try. Polyurethane coatings will give the rock a glossy look when the sealant hardens. Before using this, however, you need to make sure you want a lasting wet look on your stone because this coating can last for years.
If you want something that's not permanent, you can try silicone sprays. This will be ideal if you only have a small area to cover. You can purchase this type of product in spray bottles.
If you're working on pavers, it is recommended to use a water-based sealer, and choose urethane instead of acrylic, for best results. For more information on how to apply products to create a wet look on rocks, check out this video below.
For covering smaller areas, some people have used Vaseline or petroleum jelly on rocks, but it's not recommended because it can cause harm to the environment and wildlife. If you're looking for something that doesn't damage the environment or wildlife, try using glycerin or vegetable oil instead of petroleum or soap.
Wrapping Up
Polishing your landscape rocks, no matter how big or small they are, only requires four steps: cleaning, scrubbing, drying, and adding a protective coating. You don't need to purchase any expensive and fancy equipment to restore their color and shine.
We hope we were able to provide useful tips to help your garden rocks look neat and shiny again. For more useful gardening tips, do check out our other articles on this site.
![A man using a portable vacuum to collect dead leaves, Will A Leaf Vacuum Pick Up Mulch? [Can It Remove Leaves From Mulch?]](https://landscapingbase.com/wp-content/uploads/2022/09/Man-using-a-portable-vacuum-to-collect-dead-leaves-600x400.jpg)