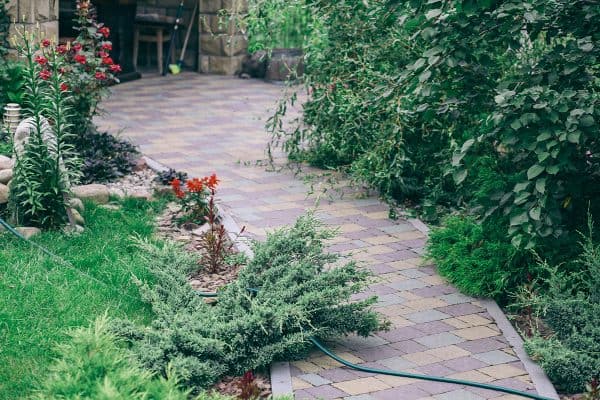
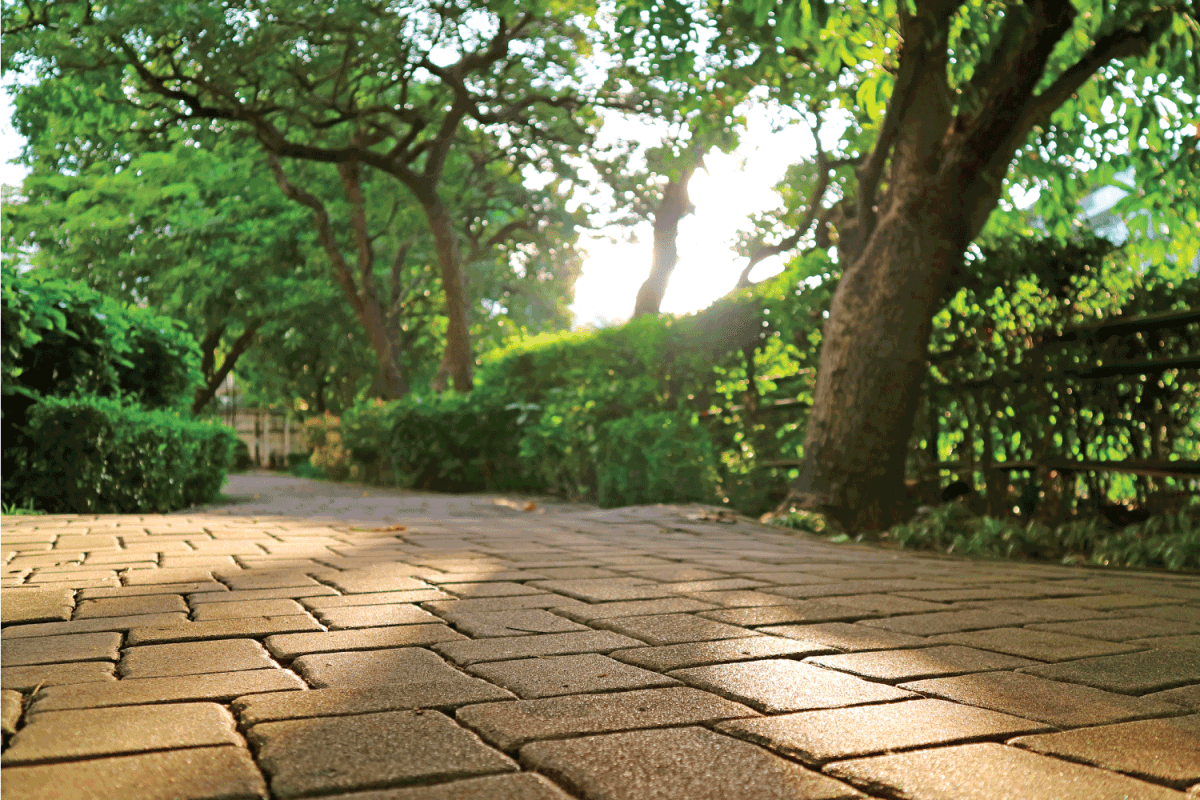
A simple approach to define an outdoor living space in your landscaping and make it more welcoming is to build a paver walkway. You need to pay attention to a lot of details in installing it, and one of them is the spacing between pavers. Wonder how far it is, especially the 12x12 walkway pavers? We’ve researched everything to share valuable answers with you.
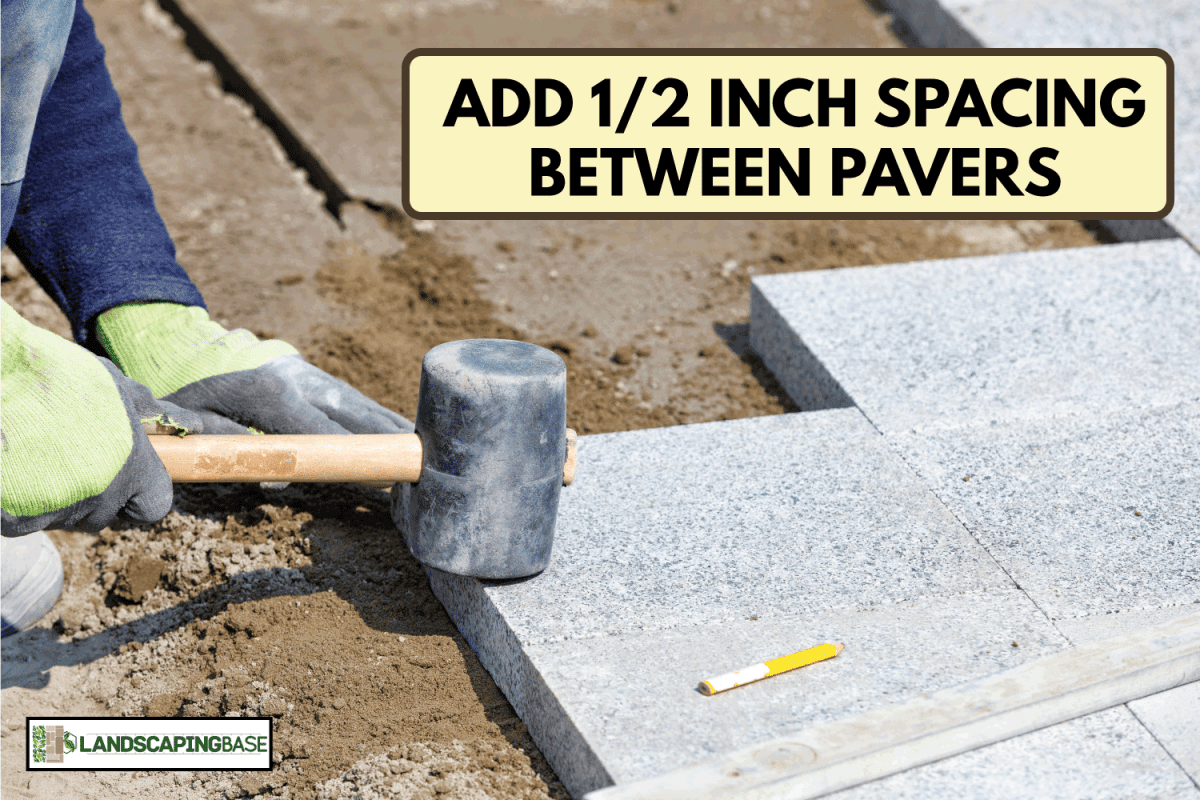
The paver’s type and purpose will determine the gap size in installing pavers. For 12x12 walkway pavers, as it is for walkway purposes, it needs wider spacing. The paver material is usually bricks and stones. Typically, they provide a ½-inch gap for this purpose and increase if pavers are put out like stepping stones.
In this article, we will discuss more on pavers and some necessary guidelines that will help you in installing the walkway pavers. So keep reading as we go through that information.
What Do You Need To Know About Pavers?
Pavers come in a wide range of designs, dimensions, and materials, but their primary disadvantage is their price. A paver's durability is greatly influenced by the caliber of its brick and mortar. Brick pavers and concrete pavers are the two most common varieties.
For patios, driveways, and pathways, brick pavers are by far the most widely used material. Usually less expensive per square foot than concrete pavers, these pavers can last a lifetime with appropriate installation.
Concrete pavers are a great option too. They come in a wide range of colors, designs, and sizes. If built correctly, they are quite sturdy and will survive for many years. The disadvantage of concrete pavers is their high price. They are typically twice as expensive as brick pavers.
Consider your budget, intended use, and home's architectural style before choosing pavers. Even though pavers are a popular choice for driveways, pathways, and patios, they still need to be built and maintained properly.
Pavers come in a variety of colors and designs. Charcoal, tan, red, gray, beige, and buff are common colors. Take into account the bricks' textures and styles when selecting pavers. Smooth bricks are advised for walkways.
How Far Apart To Space 12X12 Walkway Pavers?
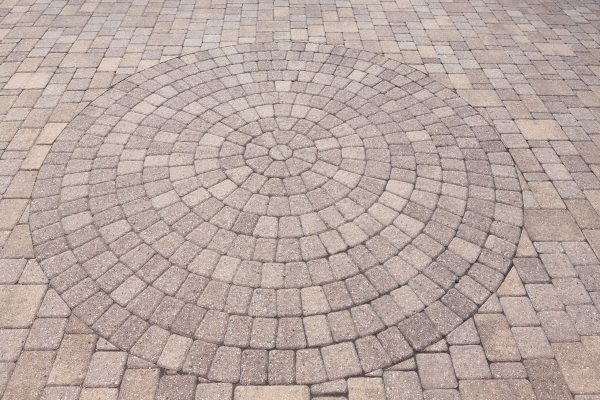
The spacing is essential to hold the pavers in place. The recommended paver spacing is ⅛ inch, but this is not a general guideline that applies to all patterns; rather, it depends on the type of pavers and the area you're covering.
You must provide wider spacing while building walkways out of bricks and stones. You can think about using stepping stones while leaving board gaps for the stone walkways. Each stone needs a space between it, which should be filled with sod or ornamental gravel.
For an attractive appearance, choose a fieldstone or flagstone shape. Be sure to use bright and eye-catching pea gravel to close the gap. You must preserve a ½-inch gap. However, when pavers are put out like stepping stones, space can be increased. These pavers may get looser with time.

![]()
Click here to see this stepping stone on Amazon
How Do You Install Pavers?
Following paver installation steps should be helpful whether you intend to install brick, stone, or concrete pavers.
1. Plan And Lay Out
The first thing to do is to plan the area that will be paved. Choose the location of your pavers and check to see if there is enough room for them.
To create the outline of your paved area, lay out your intended area using any string or some wood. Next, mark the outline about 8 inches outside of it. To prevent water from collecting or pooling and causing long-term damage to the pavement, the area needs to have a slope.
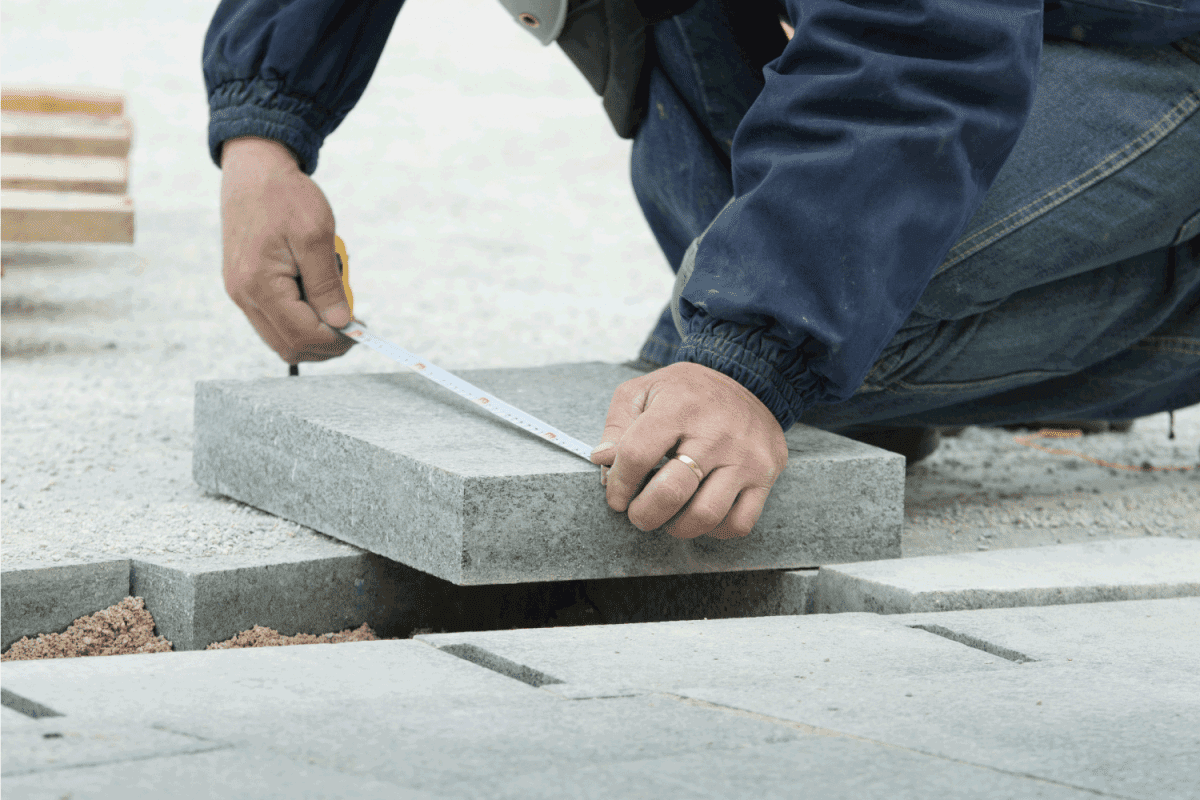
2. Estimate The Required Paver Quantity
Get the area that needs to be paved by multiplying its width and length. In order to account for the pavers that will be cut to fit curves and odd spaces, you should always add 5% to this estimate. You should increase by 10% if you anticipate cutting a lot of pavers.
After that, divide the area's square footage by the paver’s area to get the number of pavers you need. This pricing varies according to the paver's size and type.
3. Excavation
Determine the maximum height that the pavers should not exceed. To allow for water drainage, keep in mind that the slab should slope downhill and away from the home. You should slope down one inch every four feet.
In determining the total excavation depth required, add the number of inches needed for the base (4 to 6 inches), the sand bedding (1 inch), and the thickness of the paver. You are then provided with the necessary excavation depth. Dig to the specified depth, and level, then compact the ground.
4. Base Material
The placement of the base material comes next when the excavation is finished. Typically, crushed rock makes up the base material.
The sub-base material and the weight that will be placed on the paved area will determine the thickness of the base material that is appropriate for the intended purpose. Crushed gravel should be evenly layered around the area, then compact it.
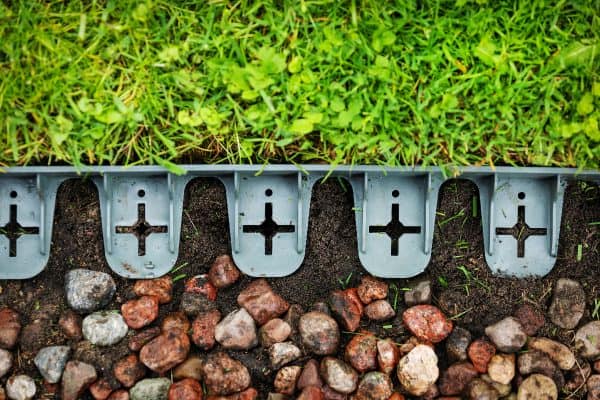
5. Edge Restraints
Your pavers will slide, split, and be easily damaged if edge restraints are not placed. The materials for edge restraints include plastic, precast concrete, aluminum, and wood.
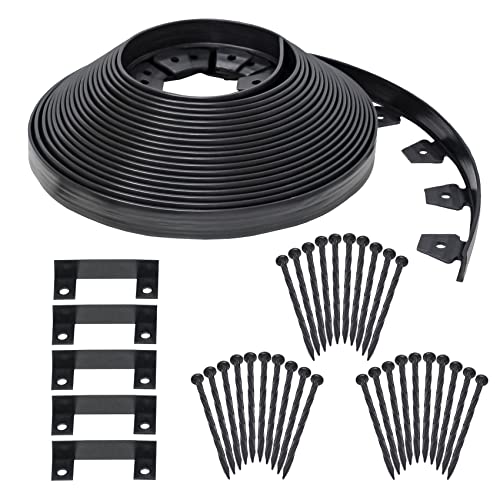
![]()
Click here to see this landscape edging on Amazon.
6. Sand Bedding
A layer of bedding sand is spread over the compacted base material before laying the pavers. This layer acts as a foundation for the pavers. The sand bedding also aids in preventing erosion of the sand joints.
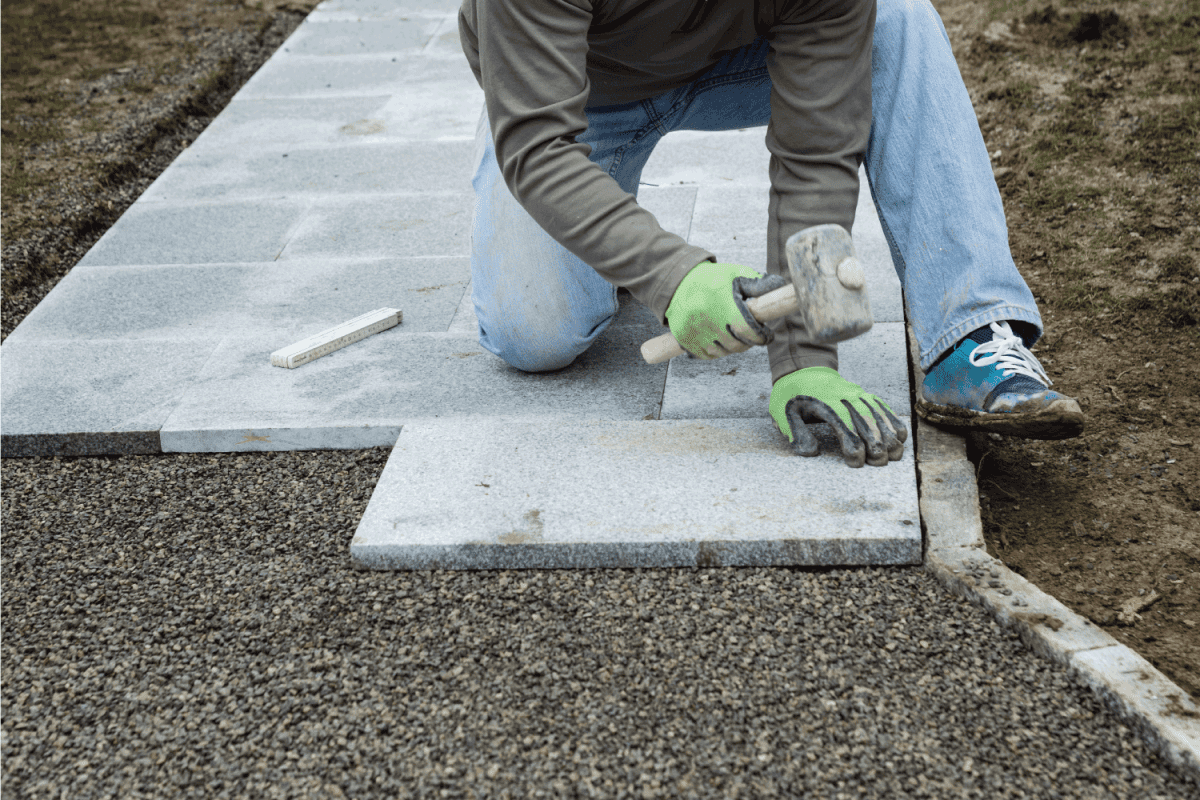
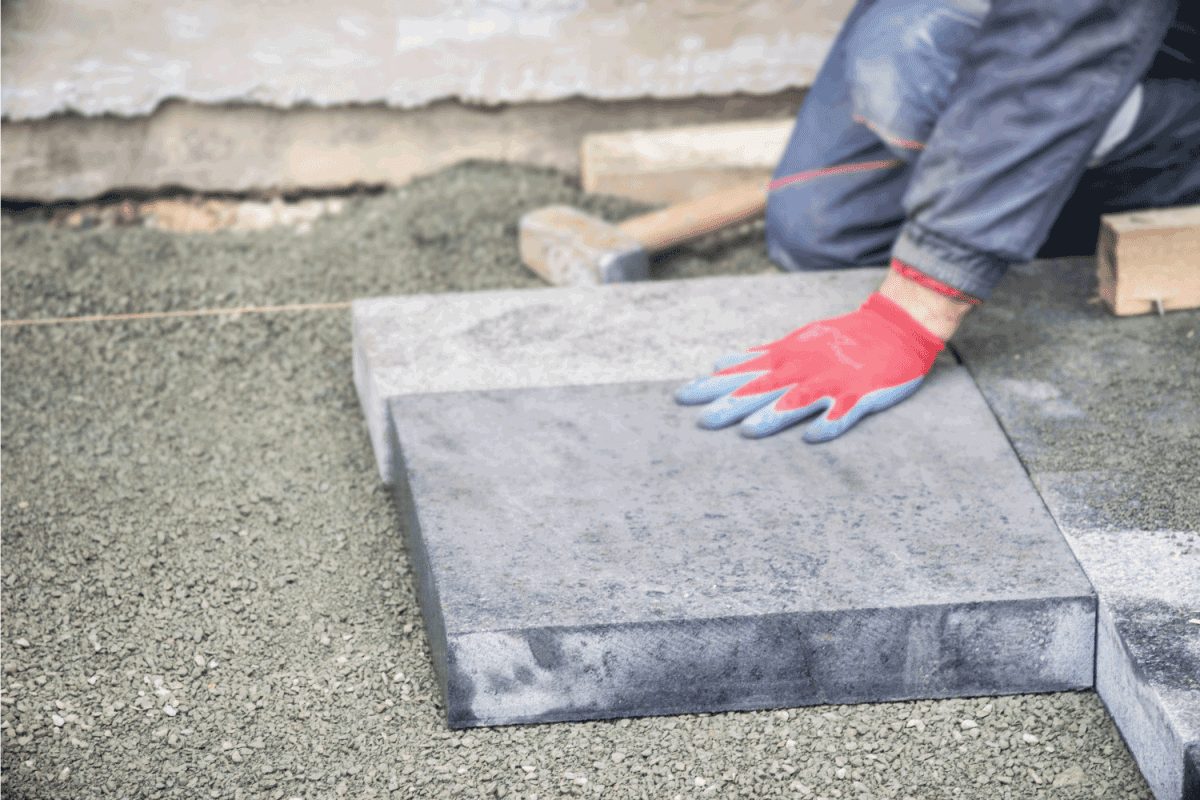
7. Placing Pavers
Lay the pavers out according to the pattern and layout you have designed. Put them side by side, then compact them again. In the design of some paving stones, there are space bumps. Use a diamond saw, mechanical splitter, or masonry chisel if pavers need to be cut to size.

![]()
Click here to see this masonry chisel on Amazon
8. Sand Joints
Sand is spread over the area in this stage, filling in the joints and securing the pavers in place. Use fine-grained sand because it will fill joints more quickly and compact much more effectively. To finish this phase, the paver and sand surface must be completely dry.
9. Sealing
Clean and sweep the freshly paved area first. To ensure that the joint sand won't disappear, seal the area with a sand-binding sealant. The sealant will also stop weeds from growing in between the joints.
10. Maintenance
If pavers have been installed properly, maintenance is typically not a problem. To retain your pavers' color and appearance, you might need to reseal them periodically. Additionally, it aids in shielding the pavers from stains, loss, and algae of joint sand.
Watch this video demonstration of installing the pavers below—
Paver Installation: Dos and Don'ts
In order to make sure your project is exactly what you had in mind, follow these guidelines:
Dos
Apply Edge Restraints
Some people just ignore using edge restraints in installing the pavers. If pavers are not held in place, they will gradually "creep" into the softer materials around them, leaving noticeable gaps all around the border of the area.
Read The Directions Supplied On The Bag Of The Polymeric Sand
Polymeric sand is popular in the market and is commonly used for sand joints in installing pavers. It is fine sand that has been mixed with chemicals to create a binding agent when exposed to water. For appropriate application, follow the instructions written on its container.

![]()
Click here to see this bag of polymeric sand on Amazon
Base Layer Compacting At 3 Inches Intervals
The average plate compactor can only compact 3 to 4 inches of material at once. Consequently, you will need to pour roughly 3 inches of material at a time, compact it, and then add the next layer. This will stop settling and long-term structural integrity issues.
Don’ts
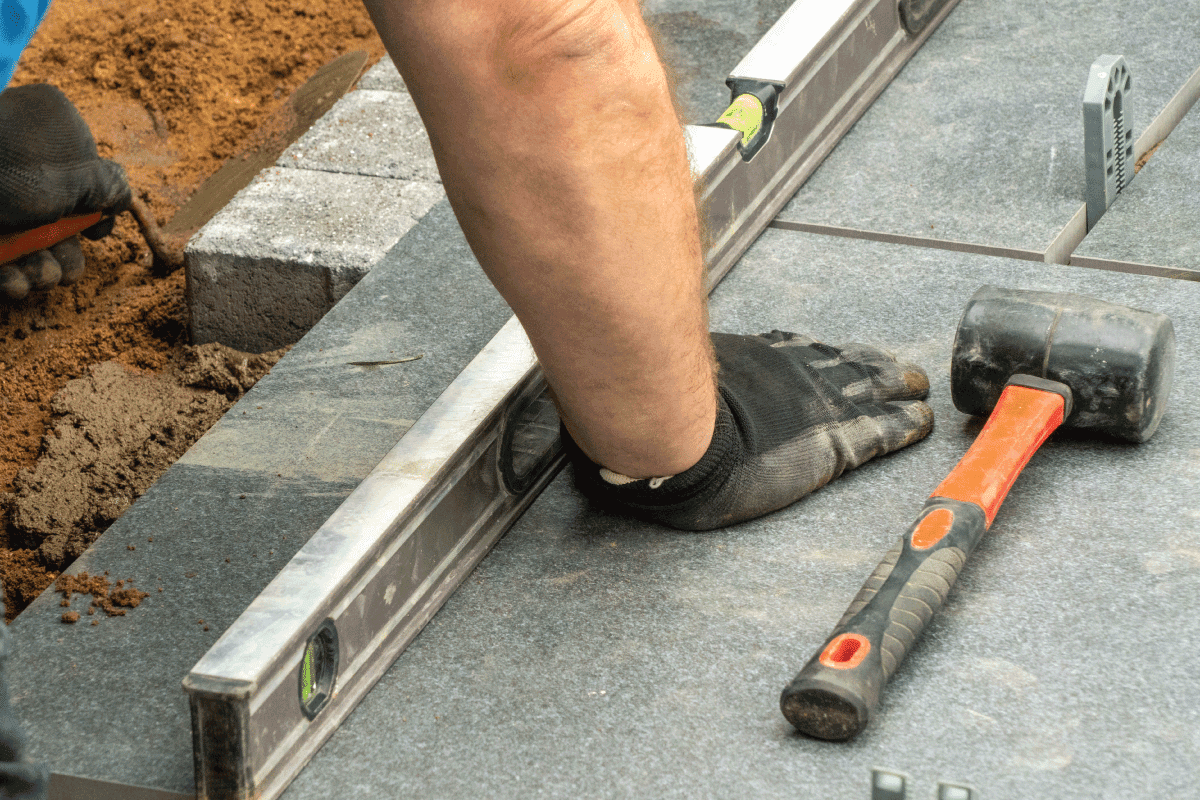
Pounder The Pavers Together
You might be tempted to use a hammer and mallet to pound the various pavers together for a tight, sleek look, but it is strongly advised against it. Placing your pavers too closely together can lead to issues in the long run.
Cut Corners
You must over-excavate the whole project area's perimeter – don’t cut corners! You must extend your base preparation beyond its size.
Compact Sand Bedding
Speaking of compacting, once the bedding sand has been poured on top of the base materials, you must absolutely avoid doing so. Why? For your pavers to stay in place, the sand must be loose.
Any loose sand will eventually be driven up into the crevices between the pavers after you lay your pavers down and finish the final compaction, helping to set and secure them. Additionally, loose sand aids in providing your pavers with a surface that is smoother and more level.
Final Thoughts
Installing walkway pavers can be tricky because so many aspects need to be taken into consideration and spacing between pavers is one of them.
You cannot place them too closely or without any space at all, as this could lead to problems later on. If you’re still not confident about how to install walkway pavers yourself, hiring professionals is always an option.