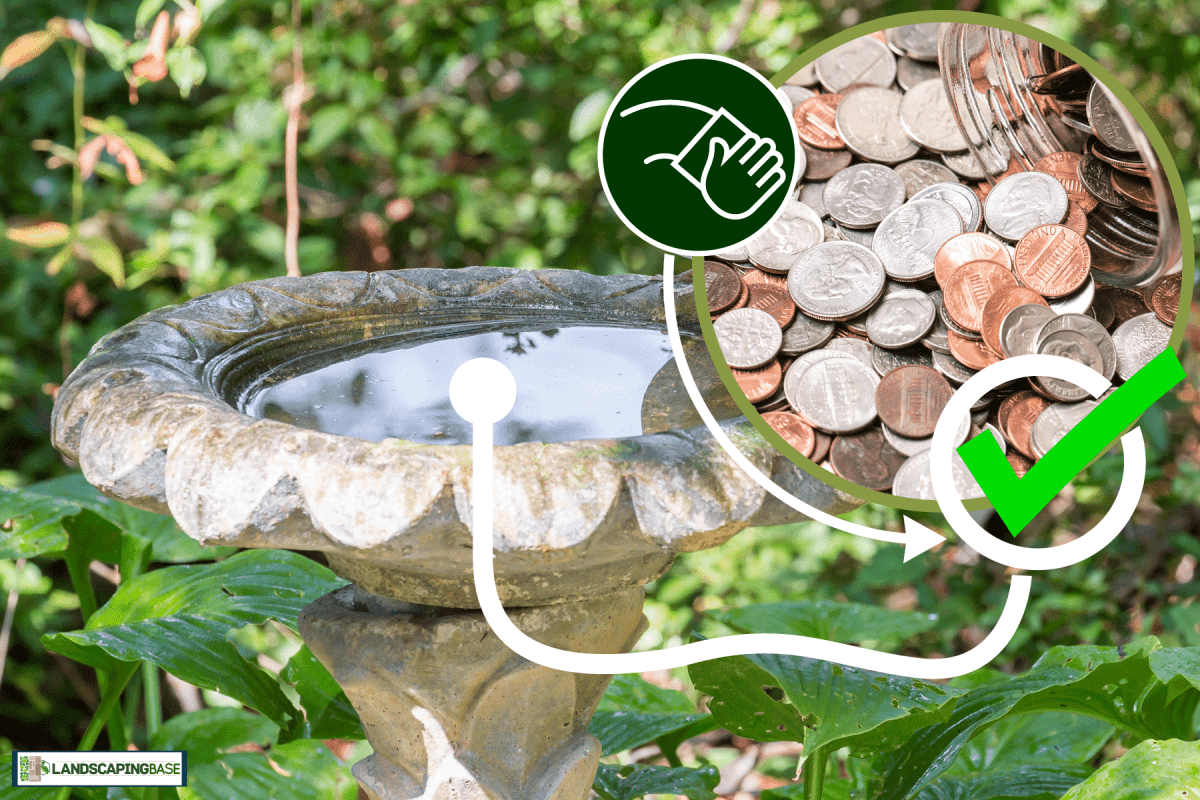
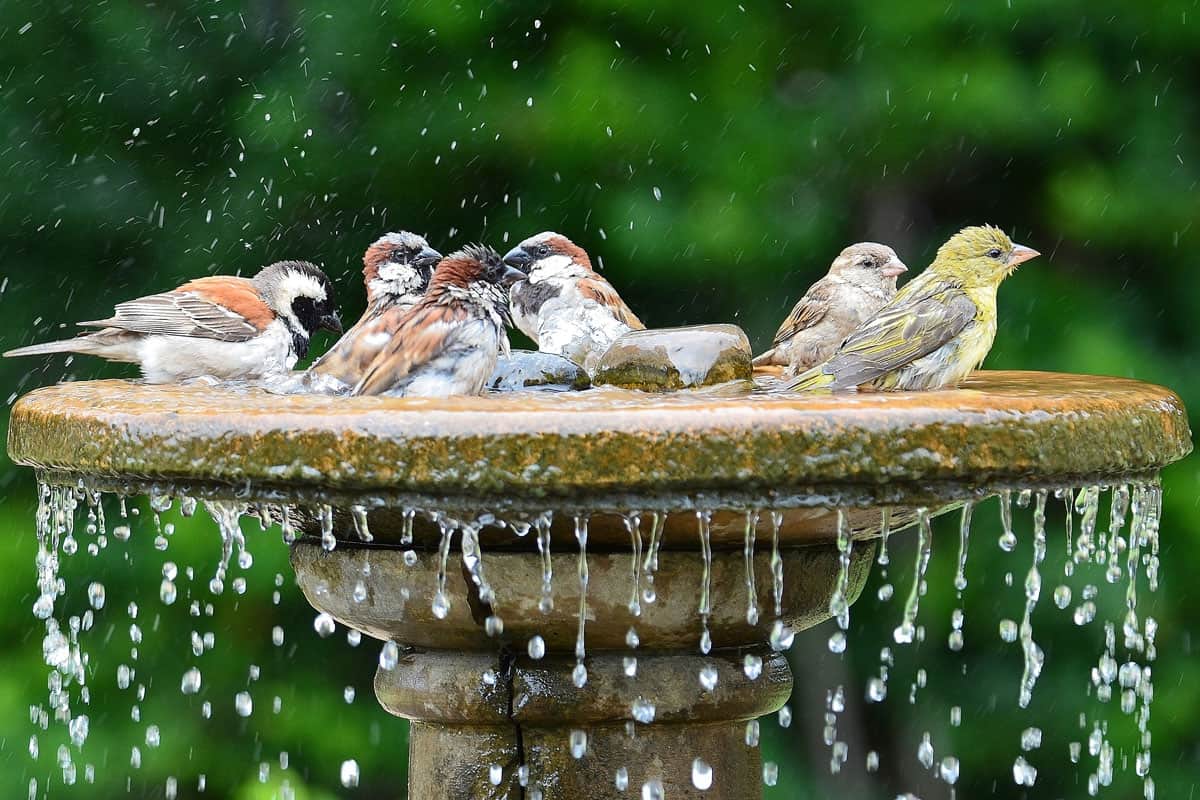
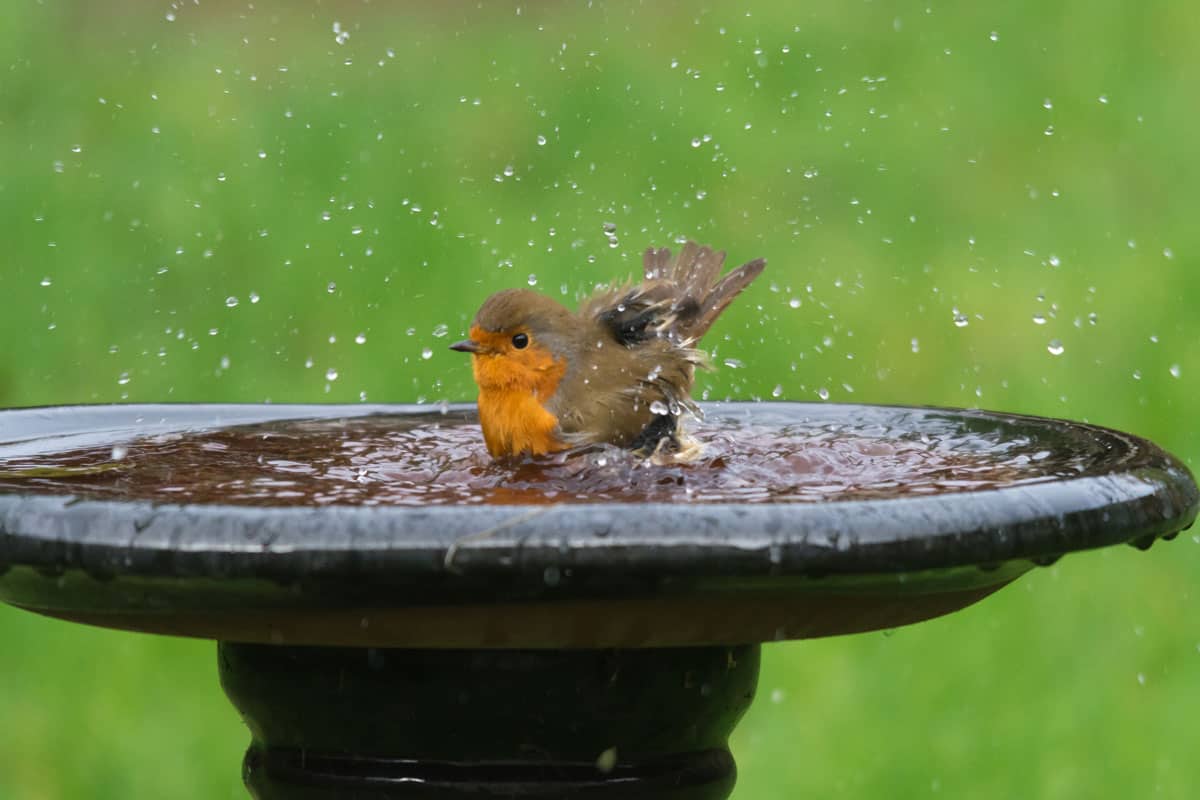
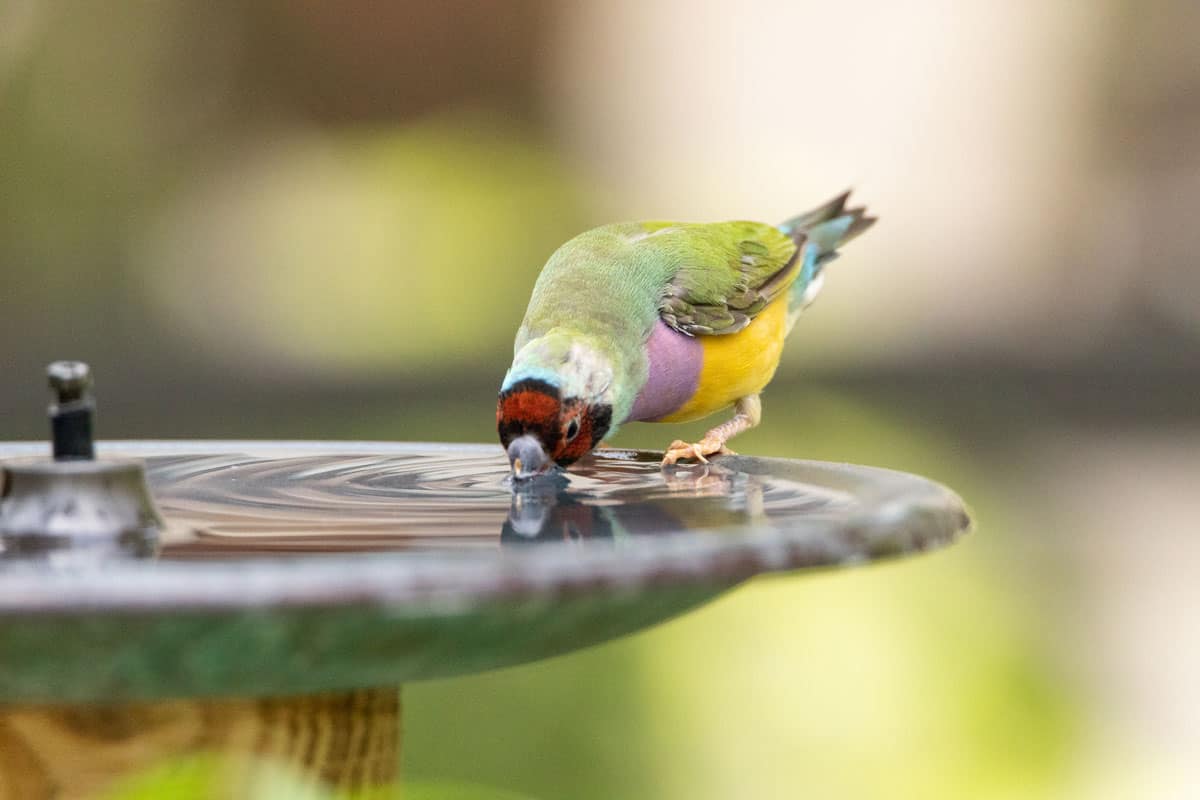
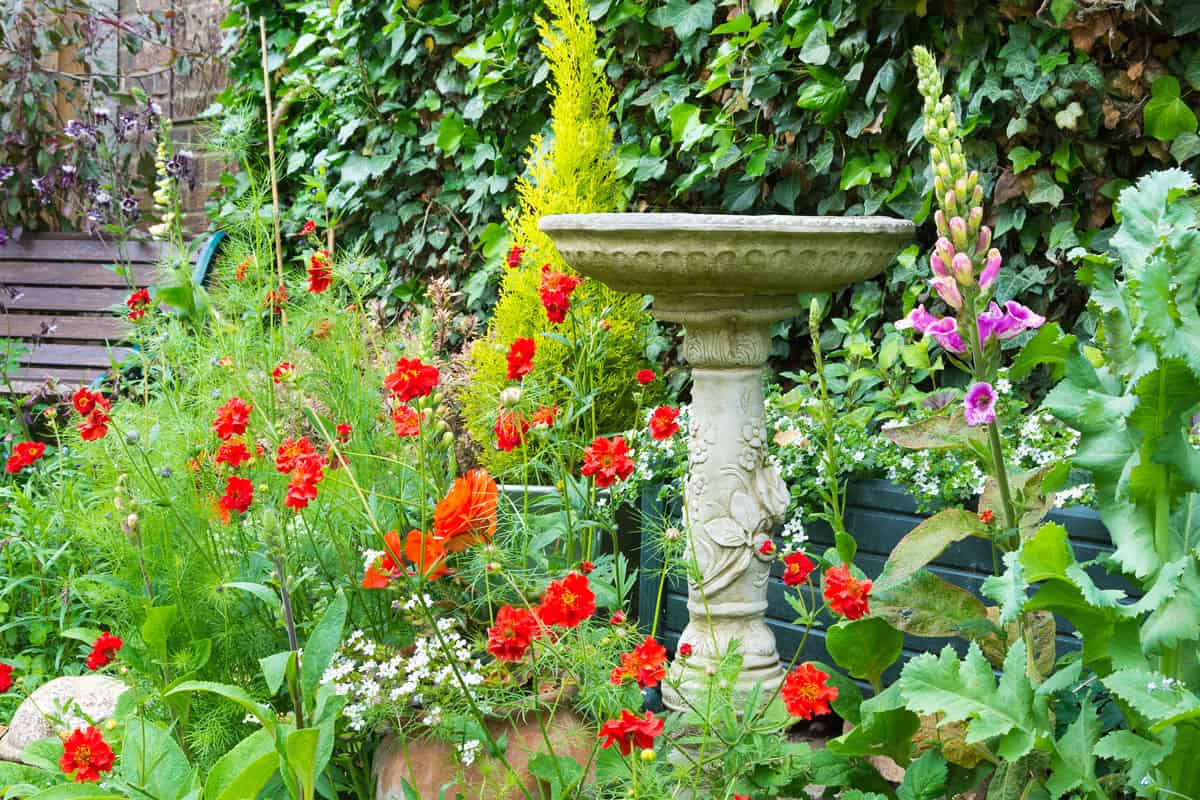
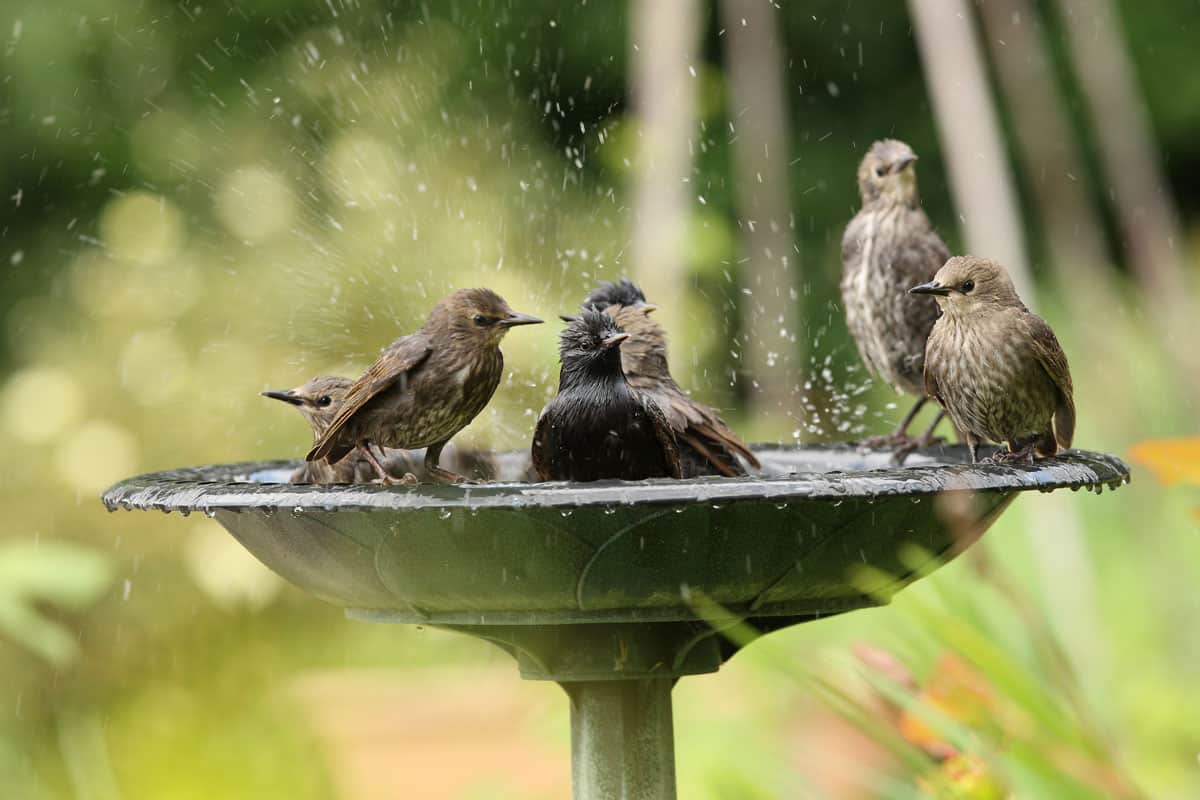
A filthy birdbath is dangerous in a garden where birds are welcome. In addition to being unattractive to birds, stationary, dirty water can also breed illness that can infect an entire backyard. Do you think pennies can help it keep clean? We thoroughly researched to learn the answer.
Pennies can help keep a birdbath clean, but they also contain harmful zinc. You must only use primarily copper pennies -typically Canadian coins minted between 1876-1996. Alternatively, you can put copper tubing or another copper object(s) into the birdbath.
Copper can suspend the escalation of algae, mold, and other bacteria. However, even if you use copper for your birdbath, you still need to regularly clean it thoroughly.
Since your birdbath will still need cleaning even if you put pennies into it, we suggest you keep reading to know how to do it properly. Doing so will also help you understand why you must only use copper pennies for birdbaths.
Does The Birdbath's Copper Penny System Work?
A filthy birdbath smells terrible and could draw unwelcome pests like rats and mice. Additionally, stagnant, polluted water can support mosquito breeding, making a contaminated birdbath dangerous for birds, and people.
We highly suggest using only Canadian pennies instead of US pennies. US pennies contain 95% zinc, which is extremely harmful to birds.
The 95% zinc that a US penny contains can become visible in the birdbath because of:
- Acidic Water
- Oxidation from air exposure
- Harsh cleaning agents
Canadian pennies minted between 1876 and 1996 contain at least 95% copper, but the majority are also made of zinc or steel.
However, we highly suggest utilizing some copper piping or other large-sized copper objects, mainly as shiny copper also attracts birds. Using such will prevent them from swallowing small coins.
Furthermore, even after adding copper to your birdbath, you still need to clean it. We recommend doing it at least twice a week, especially if you are not utilizing a fountain or a water wiggler.
How Frequent To Clean A Birdbath
Every stagnant little water pool can easily get contaminated, and it is inevitable. All birdbaths typically contain either or all of the following impurities:
- Grass debris
- Algae
- Bird droppings
- Feathers
- Dirt
Such impurities will require you to clean your birdbath twice a week or as soon as you notice that the water is filthy.
How To Clean A Birdbath
Before starting the cleaning process, it would be best to prepare the following tools and materials first:
- Pressure-adjusting hose
- Chlorine bleach
- Black plastic garbage bag
Instructions for Cleaning a Birdbath Without Scrubbing
If you follow these steps, you can perform the cleaning process quickly. Also, it won’t require elbow grease since you don’t have to scrub your birdbath.
The bath will clean itself after about 30 minutes using this method so that you can take care of other things during that time. Although this fundamental method works with birdbaths made of any component, concrete or plastic basins yield the best results.
Furthermore, before attempting this procedure, take measures to safeguard any special or fragile aspects of your birdbath.
1. Remove the contaminated Water
We all know that the water you are about to throw away is full of impurities like algae, feces, and dirt. However, you can still make use of it to water your garden plants since we still consider those organic.
Moreover, you must ensure that the birds coming into your garden won’t come into contact with this dirty water. It would be best to pour it away from bird feeders or bird nests that are near the ground.
If the basin of your birdbath is not detachable, we suggest you tilt the pedestal with caution onto surrounding grass or plants.
2. Rinse the basin
Using your hose, wash off loose debris from the birdbath for 10 to 15 seconds. And we recommend utilizing the highest pressure your hose nozzle can provide.
Washing the birdbath like this will not produce much of a difference. However, it will aid in a thorough cleaning of the bath. If your birdbath has a textured basin, position your hose differently to reach every crevice.
On the other hand, if the surface of your birdbath is flimsy, it would be best not to use the hose. We suggest utilizing some tag or a softer sponge to clean it up. Doing so will prevent you from damaging the surface finish.
3. Fill The basin With Water
In this step, you must fill the basin with water. Ensure to pour water past the dirt or algae buildup. In addition, you should check and ensure that the basin contains water as levelly as possible. Place the basin on a flat surface.
4. Put a generous amount of bleach
We suggest pouring an ample amount of bleach into the birdbath basin. Keep in mind that bleach can damage grasses or plants and clothes, so you should be careful in using it.
All you have to do is pour it gradually around the basin's surface, and it will then mix with the water. You can opt to use any stick to stir the solution. Additionally, note that you only need to put less than one and a half cups of bleach into a basic birdbath.
In a shallow basin, you would likely need less bleach. However, you might need to add more bleach if the grime of the basin is too thick and if it is deeper compared to the basic one.
5. Utilize The trash bag To enclose the basin
You should enclose the basin using the trash bag. The purpose of covering the basin is to prevent the birds from bathing and drinking the bleach solution.
In addition, the black hue of the bag will aid in heating the water because of solar radiation, which will help quickly eliminate bacteria and dirt.
We suggest pulling the bag down to the pedestal of the birdbath. Doing so will prevent the wind from blowing it away.
Weight the bag down along the borders if you are washing a ground bath to hold it in position. Soak the bath for 15 minutes.
6. remove the trash bag
Once you detach the bag from the basin, we are completely sure that the basin will appear as new. In an instance where it still has grime, we suggest replacing the trash bag and allowing it to soak once more.
7. Drain the Water
Drain the water right away. It would be best to throw the beach solution into a vacant area in your yard or unwelcome weeds. Never dispose of bleach solution near spilled seed, bird feeders, grass, or plants.
8. Rinse the basin thoroughly
Using your hose with the proper pressure, provide the basin with a good rinse. Running the water for two minutes would be best.
If you can still smell some bleach odor, you should rinse again for two more minutes.
9. Let it dry
Allow your recently cleaned birdbath to dry in the sun completely. Any lingering bleach odor will dissipate and any bleach that was not rinsed will evaporate.
If you don't have the time or don't want to let the birdbath dry, you could skip this step as long as you are sure you have thoroughly rinsed it.
10. Fill The birdbath with cool and Clean Water
Fill the basin with cool and clean water to let the birds relish. The water should have a depth of one to two inches; this will help the birds drink and bathe properly. Moreover, if the birdbath is too deep, you can add clean pebbles or large, flat stones to make it shallower.
Your birdbath is now clean and safe for birds! The birds may enjoy this birdbath for over a week.
Wrap It All Up
Pennies are indeed helpful in keeping the birdbath clean a little longer. However, it would still be best to clean it. Doing so will keep the birds enjoying a clean and safe birdbath.
Thanks for reading! We hope we have helped you with this article. If you have additional questions, feel free to leave a comment. And please check out our related posts:
![A man using a portable vacuum to collect dead leaves, Will A Leaf Vacuum Pick Up Mulch? [Can It Remove Leaves From Mulch?]](https://landscapingbase.com/wp-content/uploads/2022/09/Man-using-a-portable-vacuum-to-collect-dead-leaves-600x400.jpg)