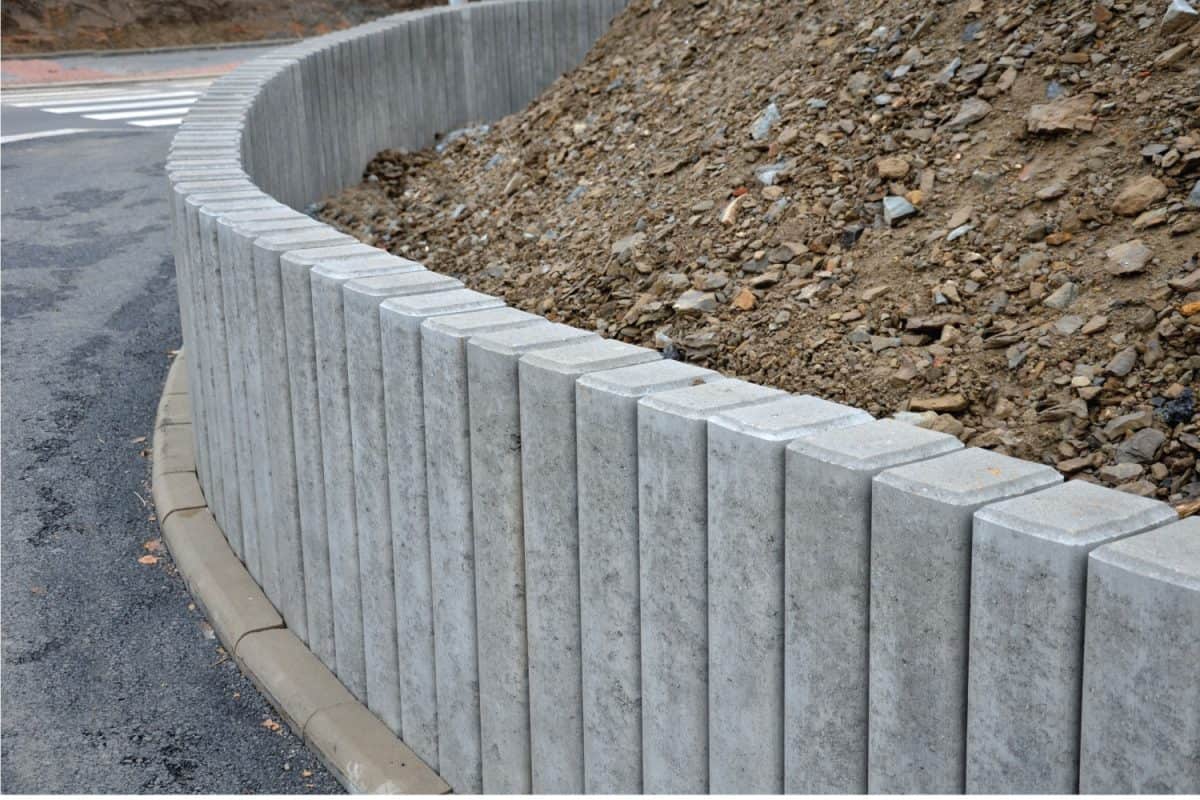
We construct retaining walls to prevent the erosion or collapse of soil that could otherwise occur. A retaining wall can flatten or level off an uneven yard that slopes downward or has a severe incline. However, do we need concrete footing for this wall? We will answer that in this post since we thoroughly researched the internet for the answer.
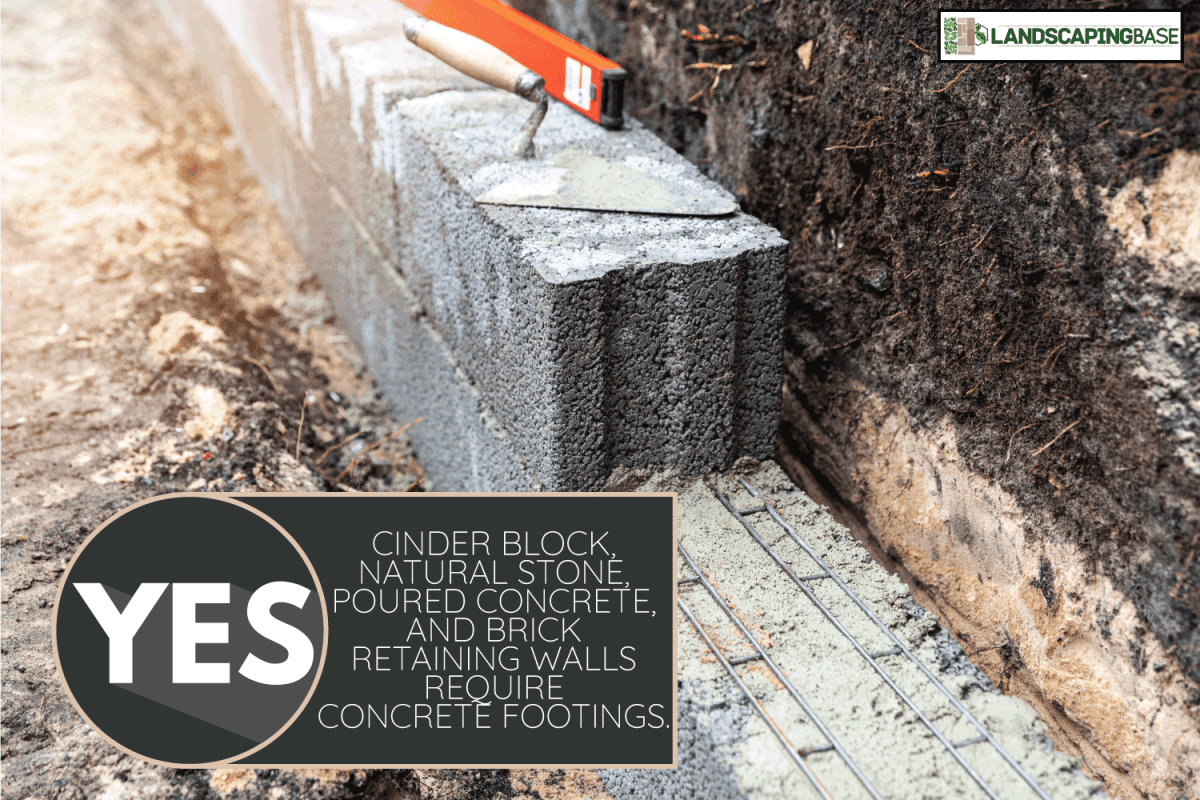
Cinder block, natural stone, poured concrete, and brick retaining walls require concrete footings. These retaining walls will break if you build them in compacted gravel like paver bricks. We all know that solid masonry is too rigid. If the footing changes, cracks, or heaves, it can damage the wall.
You should consider such things as the weather, wall material, soil properties, and wall height before creating concrete footings. And remember that the higher your retaining walls are, the more robust base they require. Please keep reading to find more information about concrete footings for retaining walls. Enjoy!
Why Is Concrete Footing Important For Your Retaining Wall
- It supports the weight of the retaining wall
- It resists movement from the soil
- Stabilizes and anchors the ground
- It adds more security for the soil to not erode
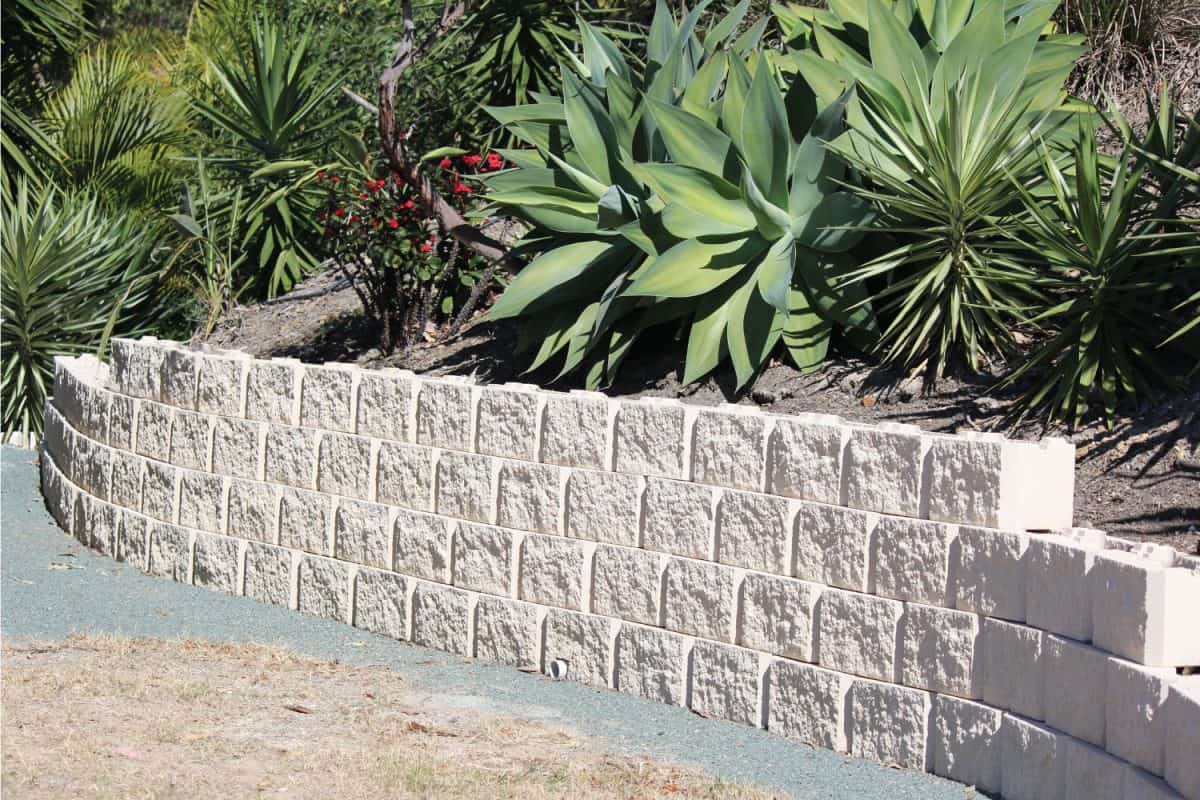
How To Create Concrete Footing For A Retaining Wall
If you have fundamental knowledge and skills in masonry, then creating a concrete footing for your retaining wall will be easy. However, it will require you a substantial amount of physical labor. You will need to dig a deep hole, pack gravel, shape and secure rebar, and transport a considerable quantity of concrete.
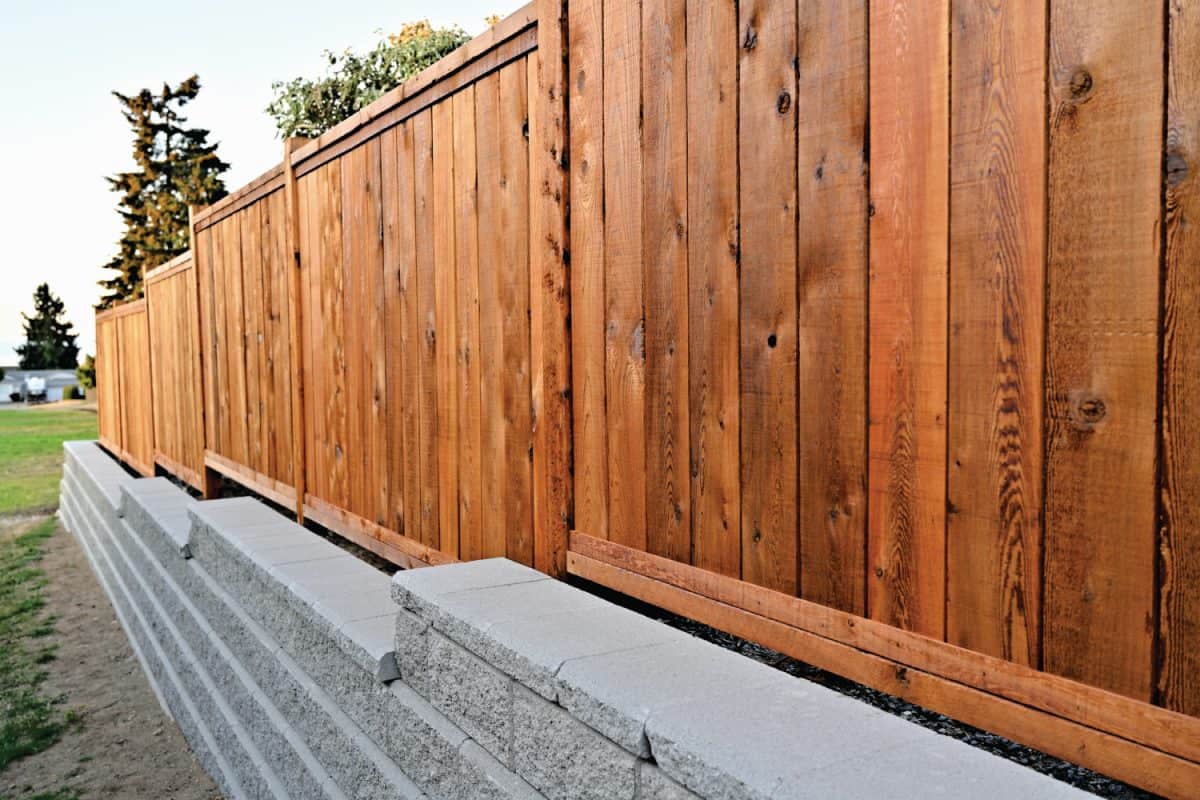
1. Footing Layout
It is critical to plan the location of the footing before beginning construction. Don't start digging in the wrong spot. Otherwise, your wall won't turn out right and the consequences could be damaging and expensive.
You should start by marking a line on the ground to indicate where your retaining wall will go. Next, draw a plan for the footings. There is a particular spot on the footing where masonry retaining walls must lie.
The entire structure must rest on a firm, well-positioned concrete foundation. Since not all walls lay in the exact middle of the footing, you'll need to consider the relationship between the footing and the wall to determine precisely where to dig.
2. Digging A Footing
You must excavate the footing deeper than the frost line. However, this varies from place to place.
Using the soil's weight, you can make the retaining wall and footing more stable. Both the back of the wall and the heel of the footing are subject to pressure from the soil. The downward pressure plays a huge part in this situation since it holds the wall in position.
Consequently, it is occasionally suggested to dig a deep foundation, even if frost is not a concern.
3. Depth Of Footing
To ensure stability, it would be best to always make the footings for masonry walls at least a foot thick. However, the depth of a footing might vary. To figure out how much concrete you need, determining the footing depth would be best.
An engineer will determine the proper depth of your footings for the wall. Additionally, the municipality will require an engineer's blueprint before approving a tall wall. More often than not, a tall wall is considered higher than three feet. However, you can typically create lower barriers without approval.
4. Footing Width
When using concrete footings, you must ensure that it is broader than your retaining wall. If you have a retaining wall with a width of 12 inches, we suggest pouring two-foot wide concrete footings for a wall that doesn't exceed three feet in height.
However, as the wall rises, you should widen the footing. When constructing a footing for a high wall, we recommend a tow and heel segment. The standard width for these footings is three feet.
Soil quality is also essential. Even though the wall is only three feet high, if the soil is poor, you may have to create a footing that is three feet broad. Spreading the wall's weight out across a broad region using wide footings will assist support the retaining wall, especially in poor soil conditions.
5. Excavation
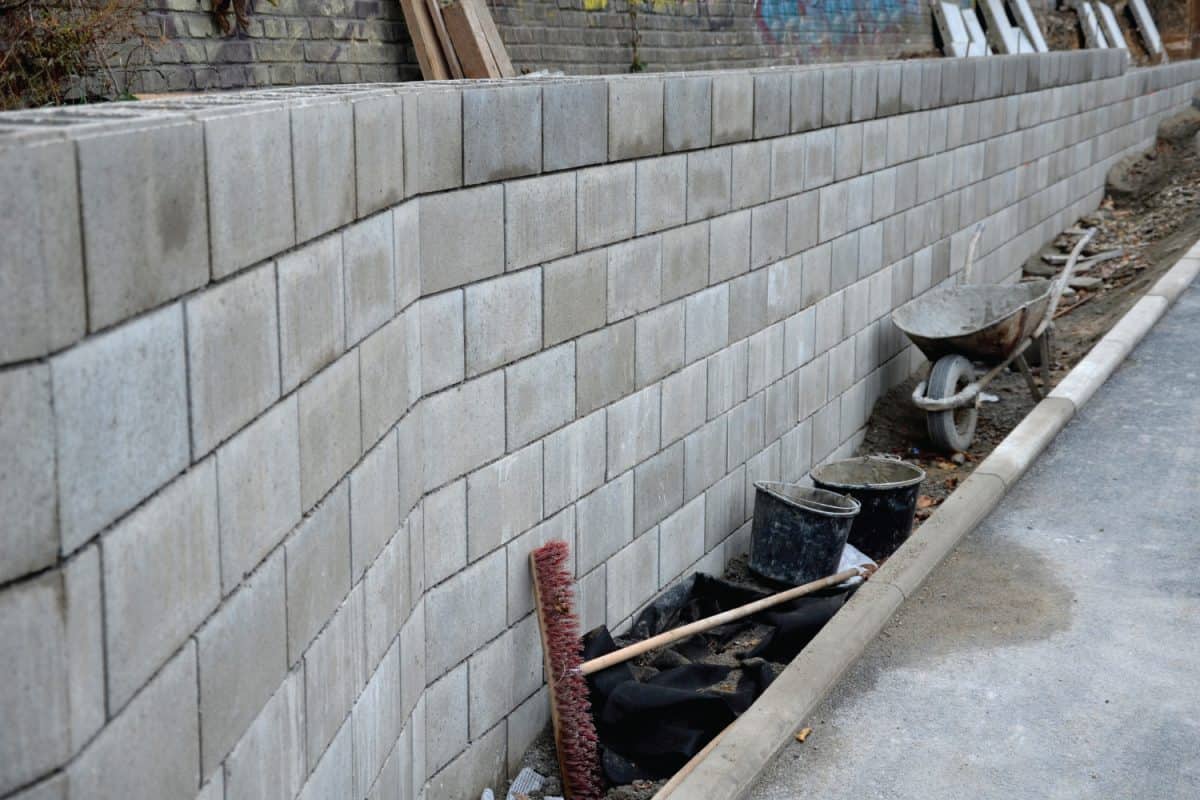
Once you have marked the placement of the wall and footing and determined the footing trench depth and width, you can begin excavating.
Before utilizing the shovel, it would be best to work the ground with a pick to help you soften the soil. And it would be best if you dig with a spade shovel. On the other hand, use a flat shovel to move concrete and loose soil and shape the footing.
Check out this steel reinforced spade shovel on Amazon.
Furthermore, you should dig the side walls of the footing vertically. Use a flat shovel to sculpt and smooth the walls of the footing. Be sure to move the soil to a distant location, where it won't delay you with your work on the wall. Remove any plant roots from the area.
Excavate a hole about one foot broader than the footing forms if you plan to use them. So long as you provide yourself adequate room to move around, staking the forms into place should be no problem.
Excavating a footing trench is indeed challenging. So, you might want to have someone do the work for you or rent a machine. Once finished, you should pour one inch of gravel and compact it thoroughly.
NOTE: Before starting to excavate, it would be best to contact local utility companies to confirm the location of underground wiring or piping to avoid damaging gas or electrical lines.
6. Concrete
You should calculate how much concrete you'll need before mixing it. It's best to pour the footing all at once, meaning there's no need for separate pours. As a result, you won't risk having to stop work because you've run out of concrete.
To determine the amount of concrete you will need to pour, you will have to multiply the depth by length by width of the area you need to fill.
7. Mixing Concrete
Before you begin mixing the concrete, placing the bags next to the footing area would be best. Additionally, you have to ensure that you are complete with the tools and water supply to make the task easier.
One of the most crucial steps of creating your concrete mix is adding water. So, it would be best to do this as carefully as possible and follow the instruction label.
You'll know if the mixture is well-mixed if it has a thick consistency like porridge, and you can shape it with your hands. Additionally, it would be best to use concrete with a minimum of 3,500 PSI for a concrete footing.
Furthermore, you can make your concrete from water, cement, sand, and stone if you want to get technical. Adjust the proportions of the ingredients to achieve the desired concrete strength. Most homeowners or masons prefer creating their own mix because it is more cost-effective.
8. Pouring The Concrete
Pour the concrete mix immediately after mixing. While you do it, ensure that you don't collapse the soil or upset the side walls to reach the trench bottom. You could damage the concrete if some of the surrounding soil collapses into the hole.
You can utilize a concrete spreader or shovel to move the mixture around and tamp it to level it.
Although it's not a huge deal to pour too much concrete, doing so is also not a good idea. If the footing has horizontal rebar, this step is crucial. The spacing between the margins of the concrete and the horizontal rebar must be strictly adhered to. The footing can break if it's too near to the edge.
Filling in into forms makes work more straightforward. Until you get to the top of the form, just put concrete.
9. Tamping The Concrete
After you fill the footing with concrete, tamp the surface with a hoe or spreader. This will break air bubbles, fill the spaces, level the top, and make a solid footing.
Check out this trench tamper on Amazon.
10. Curing
Curing time is of the essence when laying concrete footings for a retaining wall. The wall's weight could cause the footing to crack if construction began too soon. Concrete usually needs 28 days to cure thoroughly. However, it is sufficiently firm to hold the wall after just two or three days.
11. Drainage
You will need a perforated pipe at the back of the retaining wall to empty water from the concrete footing. It is vital to drain water because it produces pressure, and it might freeze if you reside in a cold region.
We suggest utilizing one four-inch of perforated pipe at the footing depth. Additionally, you should install another every three feet up the wall.
When constructing a wall and back-filling, it would be best to also pour gravel behind it. Another option for allowing water to escape from behind a retaining wall is to drill weep holes at regular intervals.
Wrap It All Up
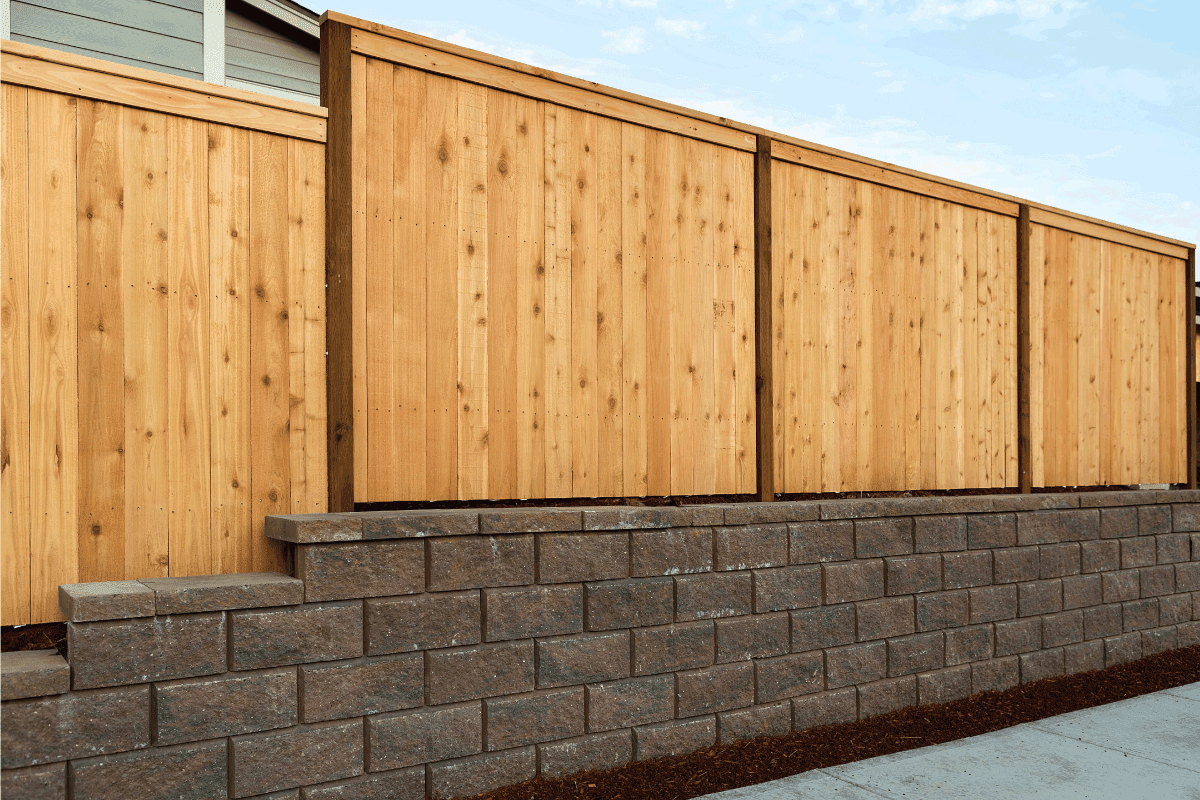
Retaining walls help significantly to prevent soil erosion and to level uneven soil surfaces. And whatever type of retaining wall you have, it would be best to install concrete footing. Follow the method discussed in this post to achieve the best result for your concrete footing project.
We hope you find this post helpful. If you want to read further, you can check the posts below. And if you have additional questions, feel free to leave a comment. We'd love to hear from you!
15 Great Solar Lighting Ideas For A Retaining Wall


![A man using a portable vacuum to collect dead leaves, Will A Leaf Vacuum Pick Up Mulch? [Can It Remove Leaves From Mulch?]](https://landscapingbase.com/wp-content/uploads/2022/09/Man-using-a-portable-vacuum-to-collect-dead-leaves-600x400.jpg)

